
Published
Jun 1, 2026
4motion Parts List
This is from what i remember off the top of the head the "major" parts that i used for the swap. The only thing that part that i had to "hunt" for was the bevel box support bracket that goes from the bevel box to the block. all the other parts i used came off my mk6 golf r doner car.
| transmission | 02Q-300-052-Q |
|---|---|
| bevelbox | 0AV-409-053-AE |
| right axel | 1K0-407-272-EE |
| right axel | [lookup] |
| bevelbox support bracket | 02M-4099-05A-Q |
| 4motion axel sheild | 1K0-407-720-B |
| drive shaft | 1K0-521-101-P |
| drive shaft bolts x6 | N90-846-102 |
| drive shaft hanger bolts x2 | WHT-001-838 |
| driveshaft mount left bracket | 1K0-804-331 |
| driveshaft mount right bracket | 1K0-804-332 |
| 4motion front swaybar | 1EA-411-303-AE |
| 4motion downpipe | 5Q0-131-701-N |
| 4motion catback | [just find one] |
| 4motion fuel tank | 1K0-201-055-AQ |
| 4motion secondary fuel pump/sending unit | [idk] |
| 4motion rear subframe | 5Q0-505-235-K |
| rear diff | 0BR-525-010-G |
| rear axels x2 | 1K0-501-203-F |
| rear hubs x2 | 5K0-498-621 |
| rear 4motion swaybar | [idk] |
| 4motion rear subframe bolts (they are longer) | N10-715-901 |
| haldex/fuel sending harness | WL-HLDX-OEM-G4-FL |

The Start of it all.
First step was getting the parts car. Once it was in my possession we started stripping the car. That pretty much consisted of pulling off things we knew we'd need as well as parts we knew we wouldn't need. Somethings were stacked like building blocks, dropped the exhaust (found out it had a 42draft designs 3" turbo back on it!), gas tank had to come out, we pulled the motor out so we could separate the motor and trans. Once the motor was out, we did the subframes as complete dropouts. We unbolted the front and rear struts, unhooked the soft brakes lines from the hardlines. After that we just unbolted the subframes and dropped them out. One quick **tip** is that when I dropped the front subframe out i just unplugged it from the ground/fuse box and the 2 or 3 pin plug so I didn't have to fight the plug on the steering rack.
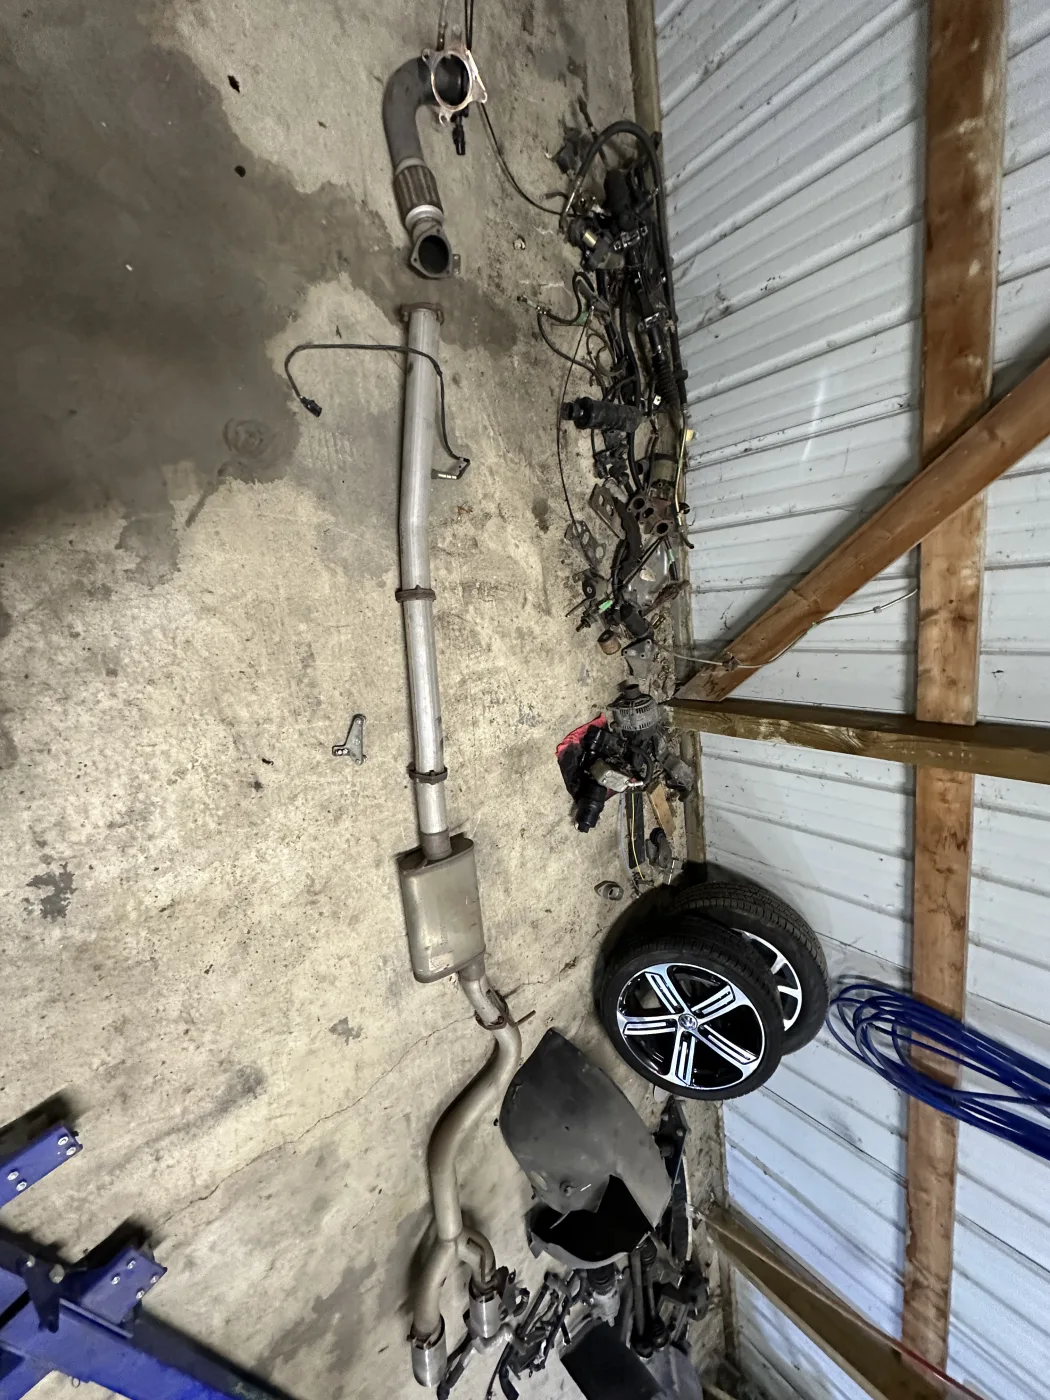
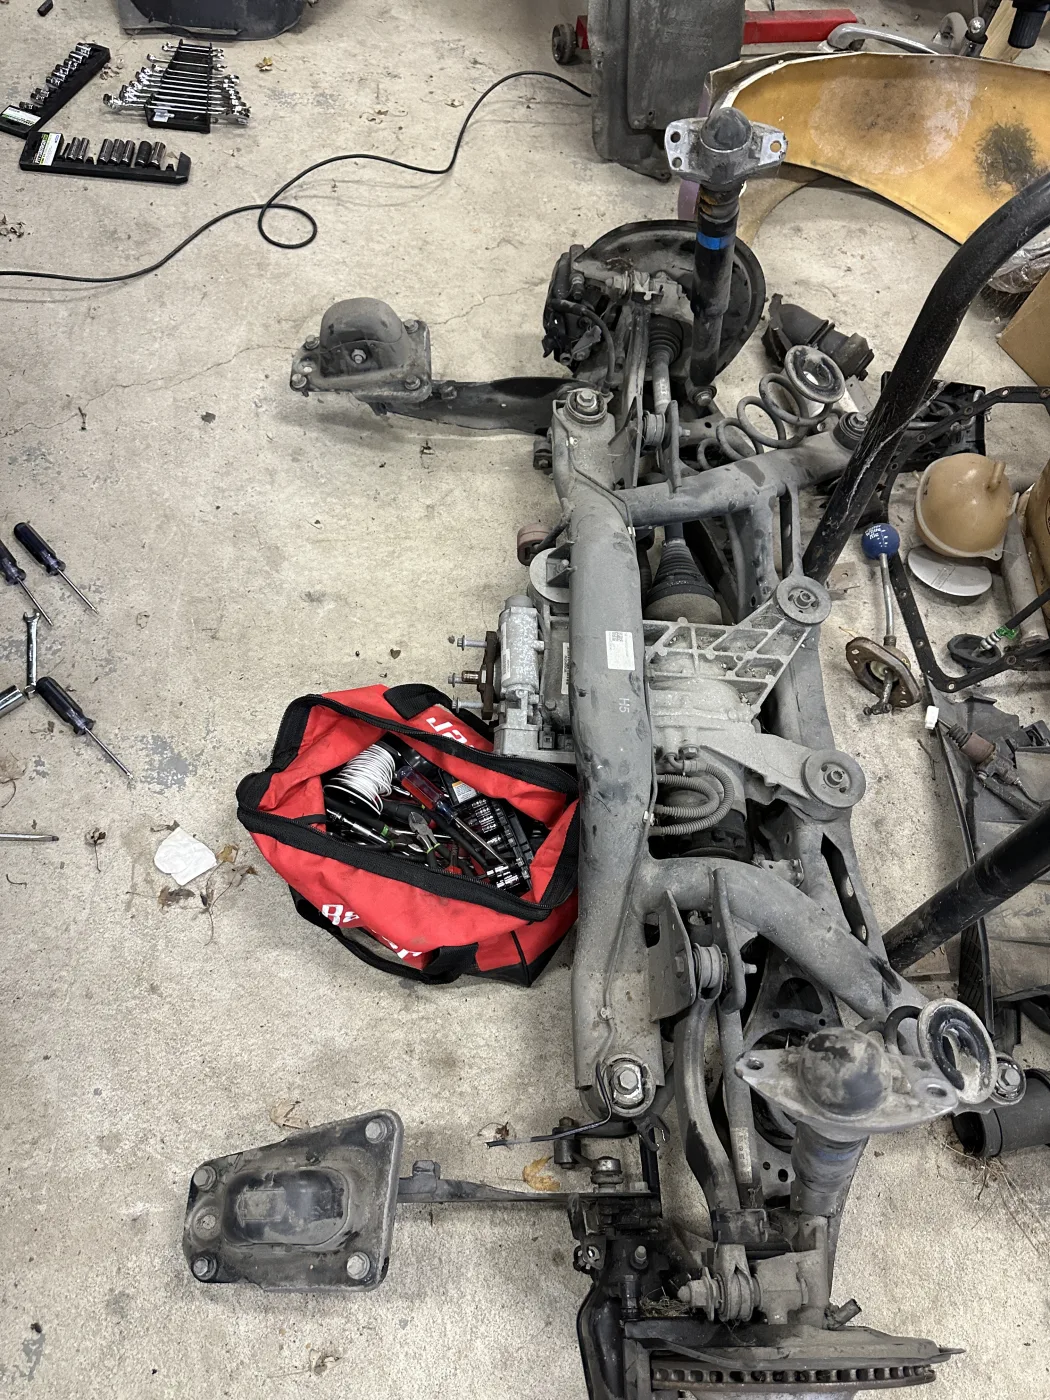
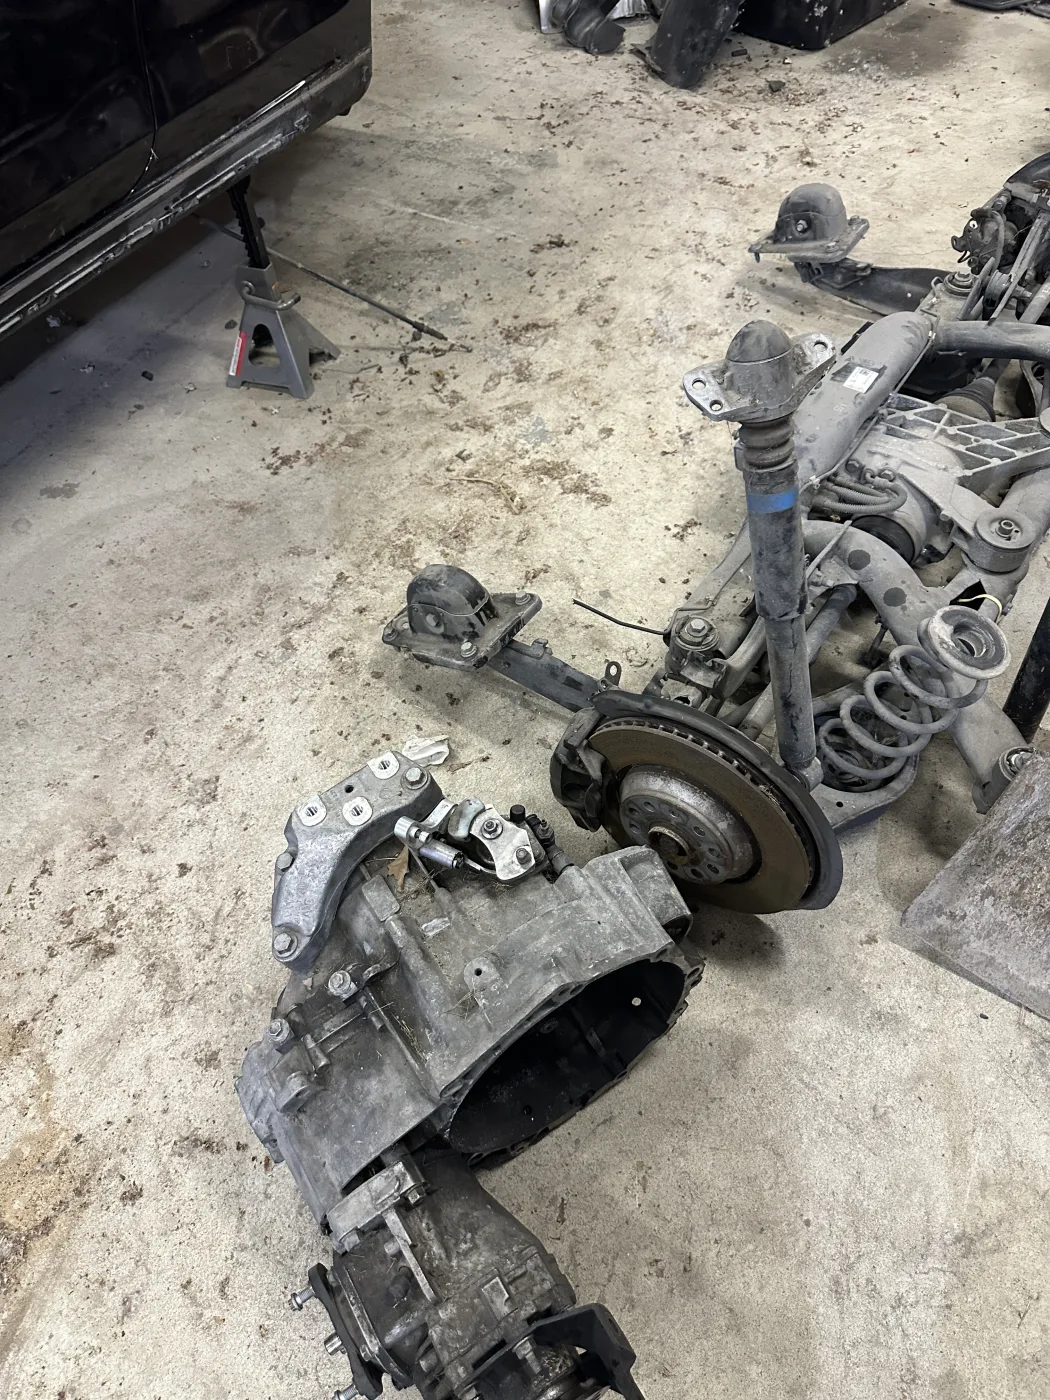
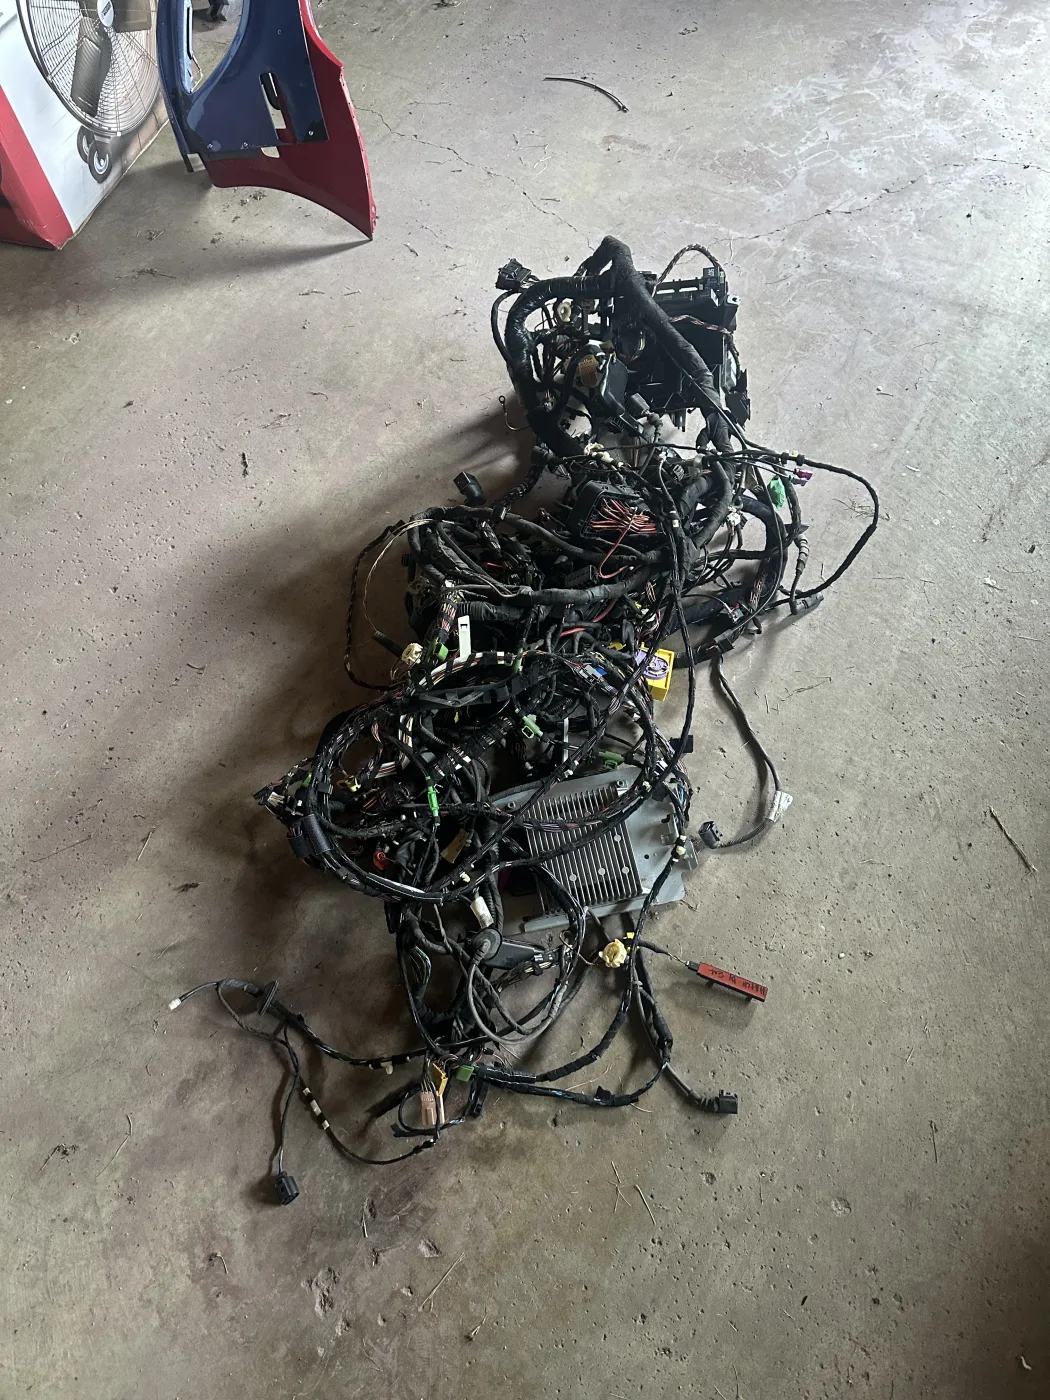
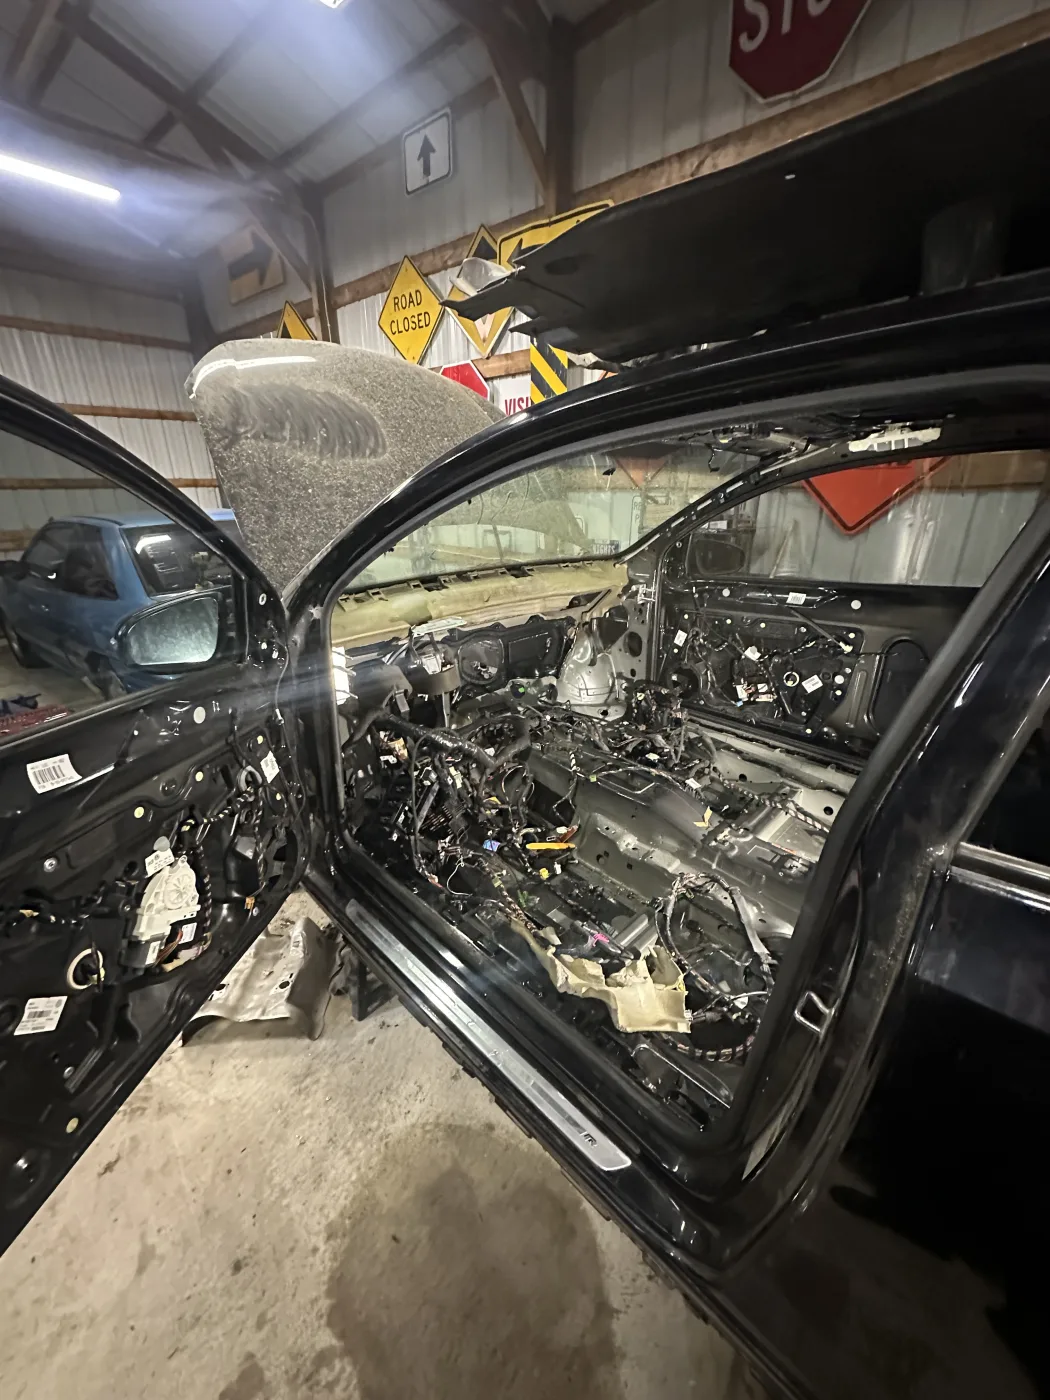
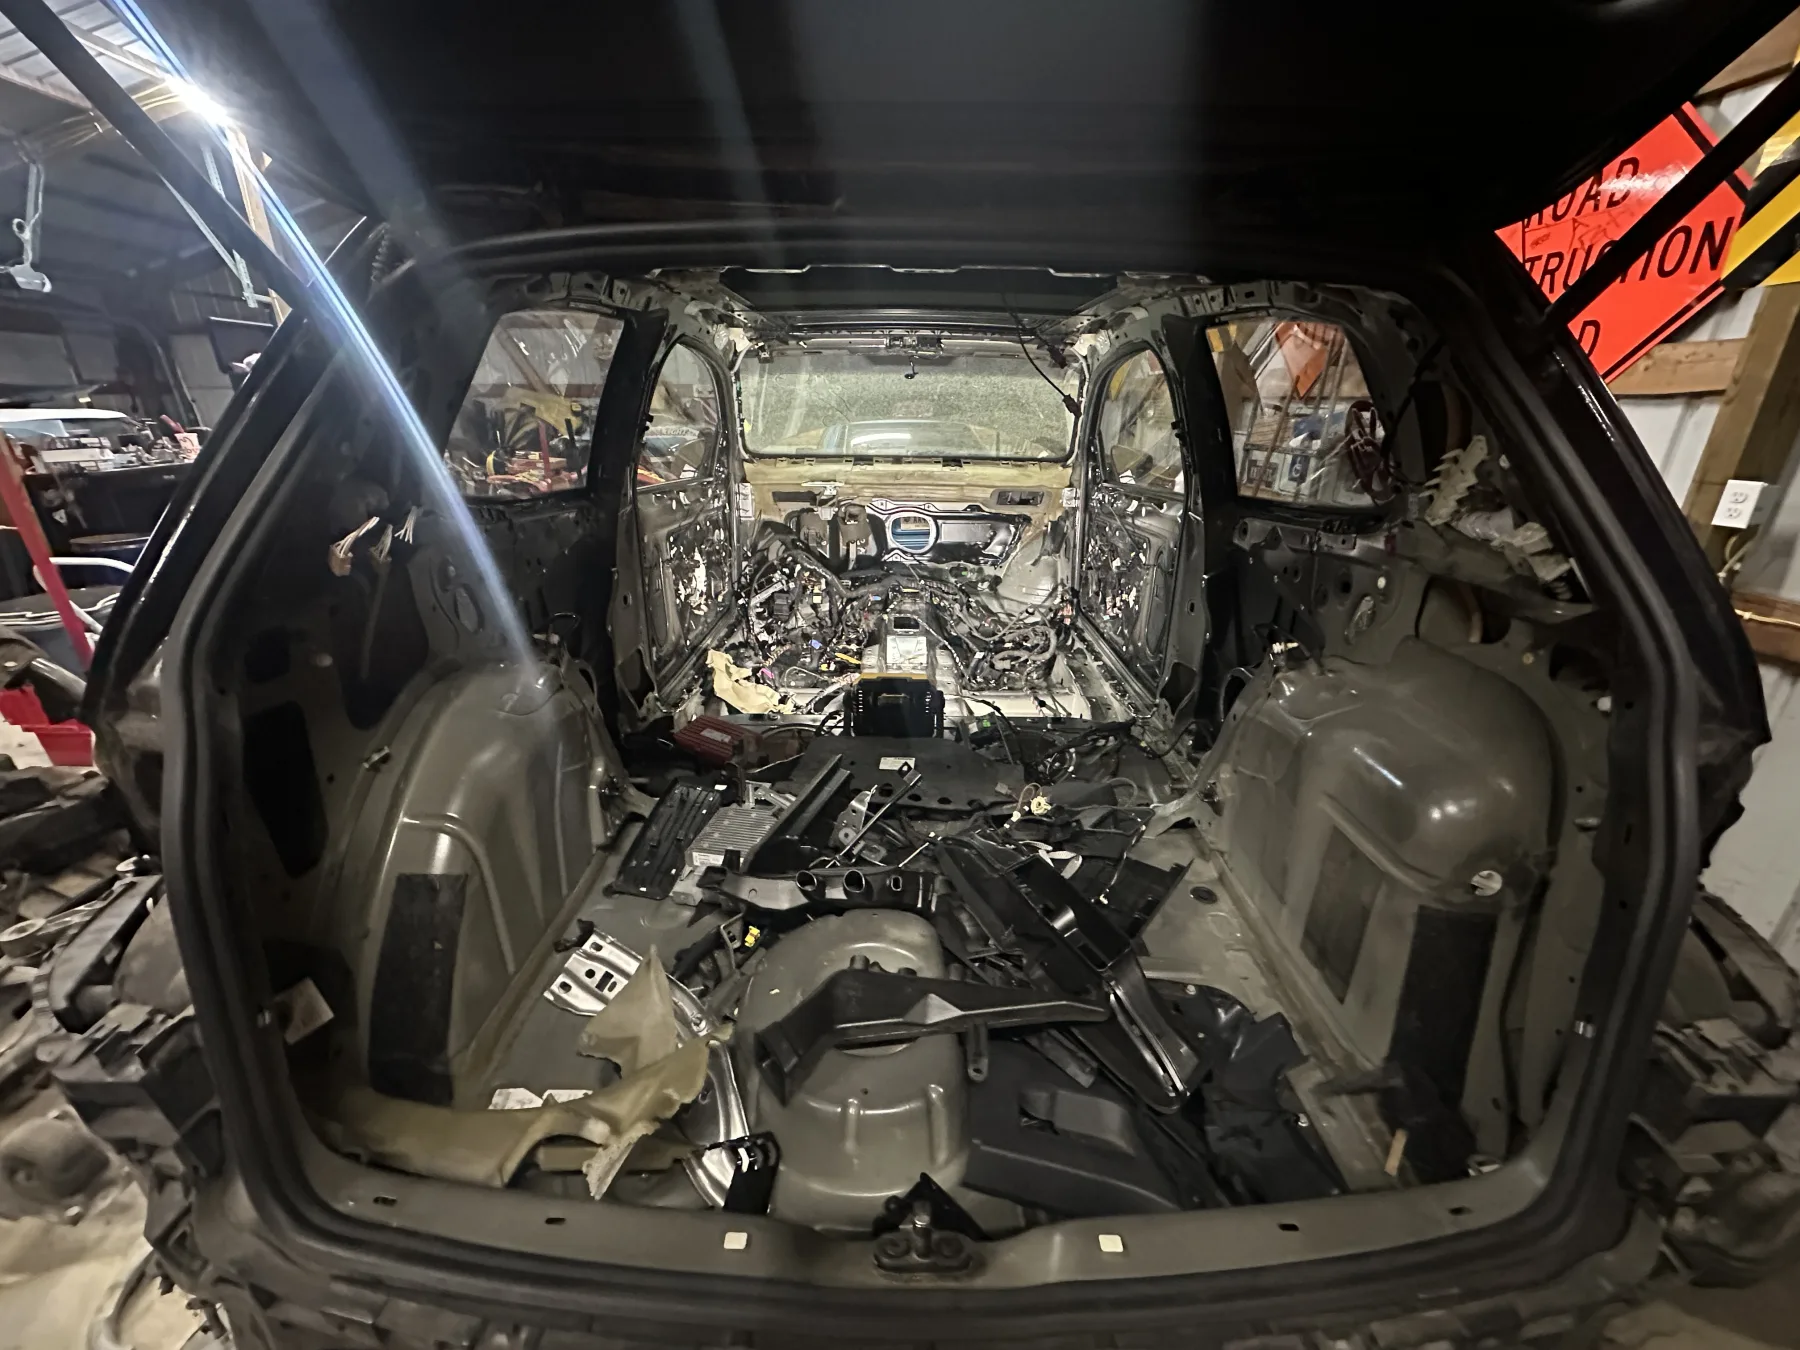
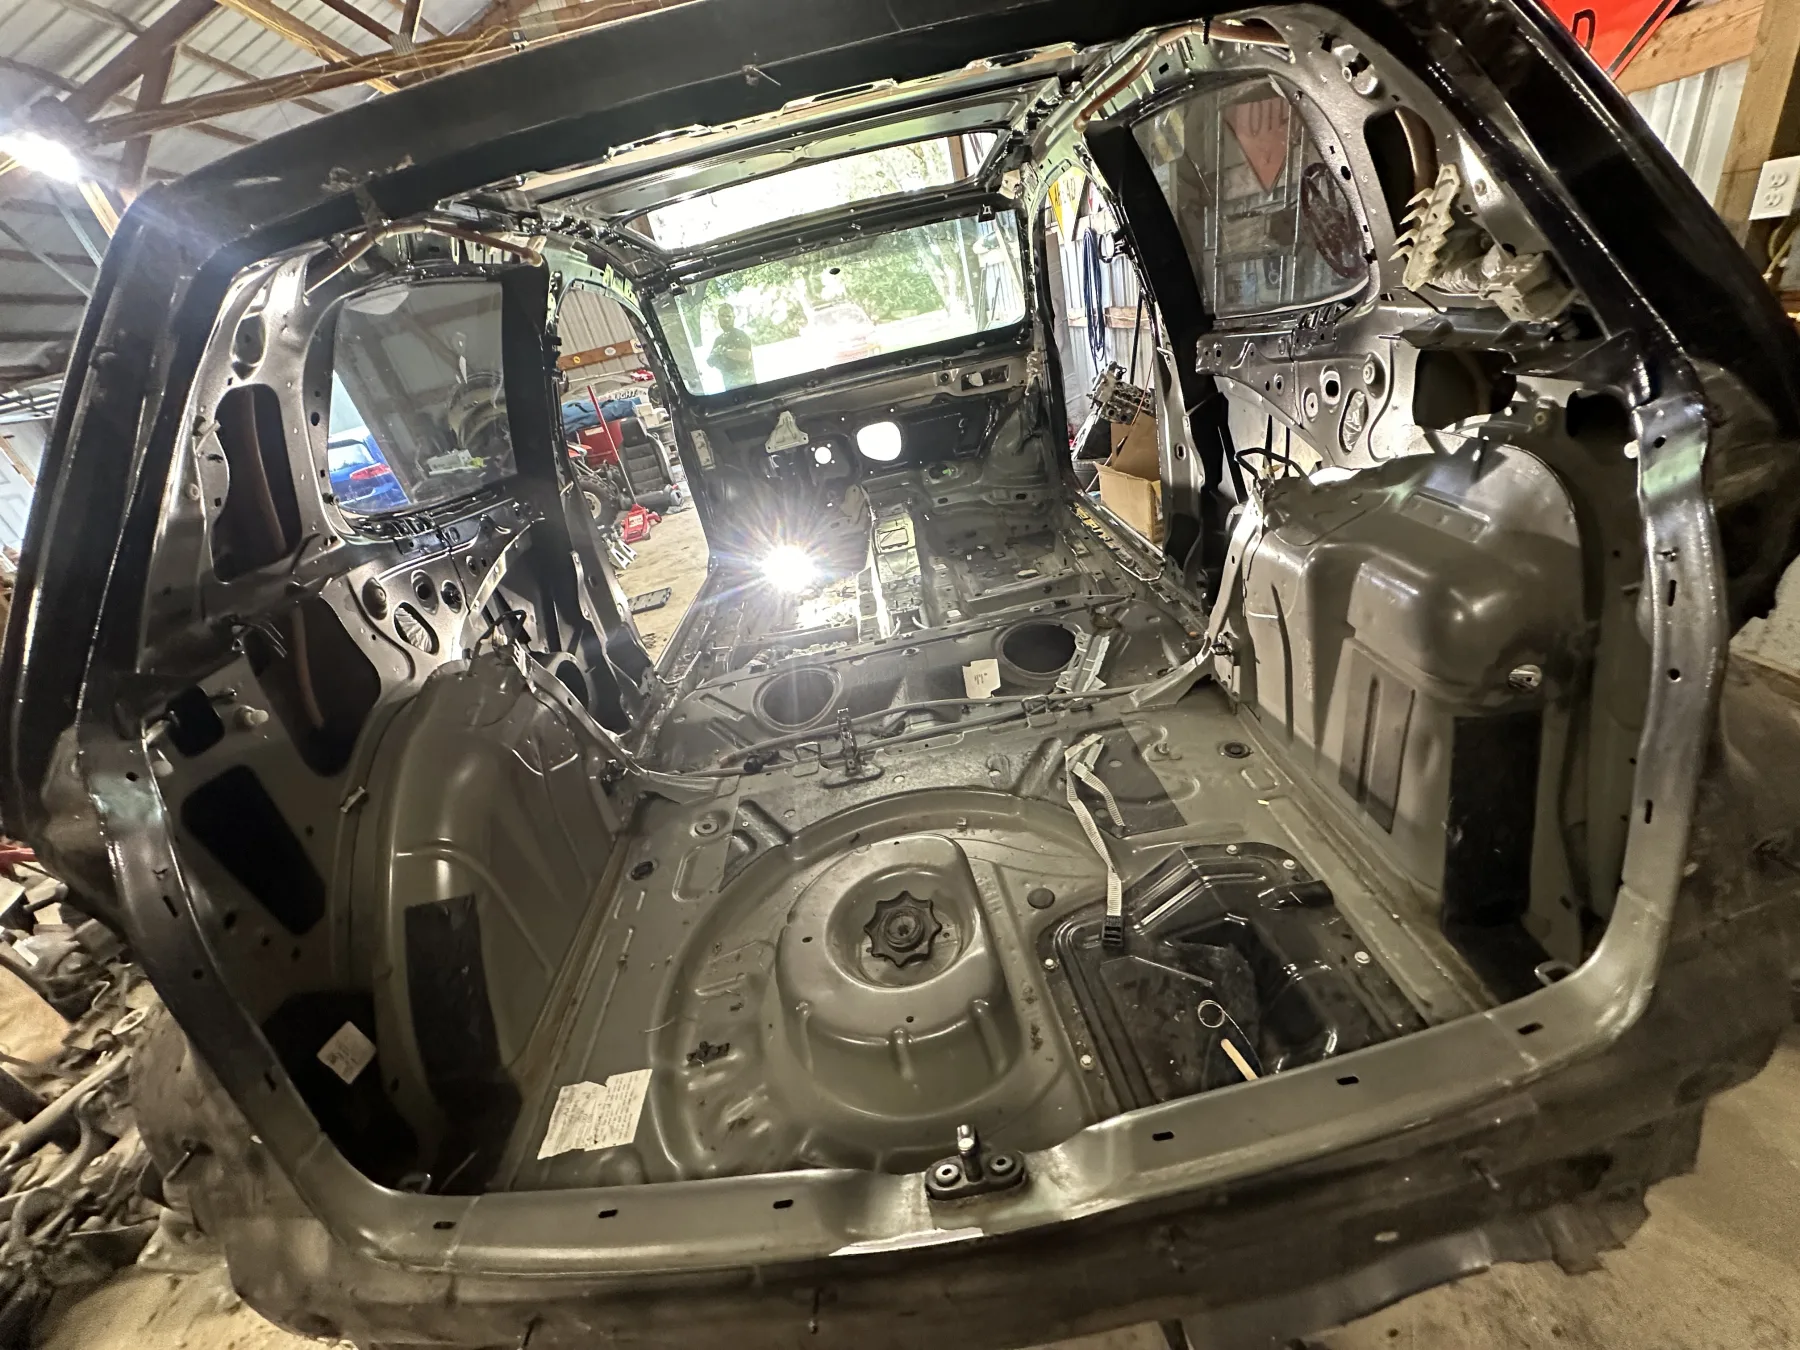
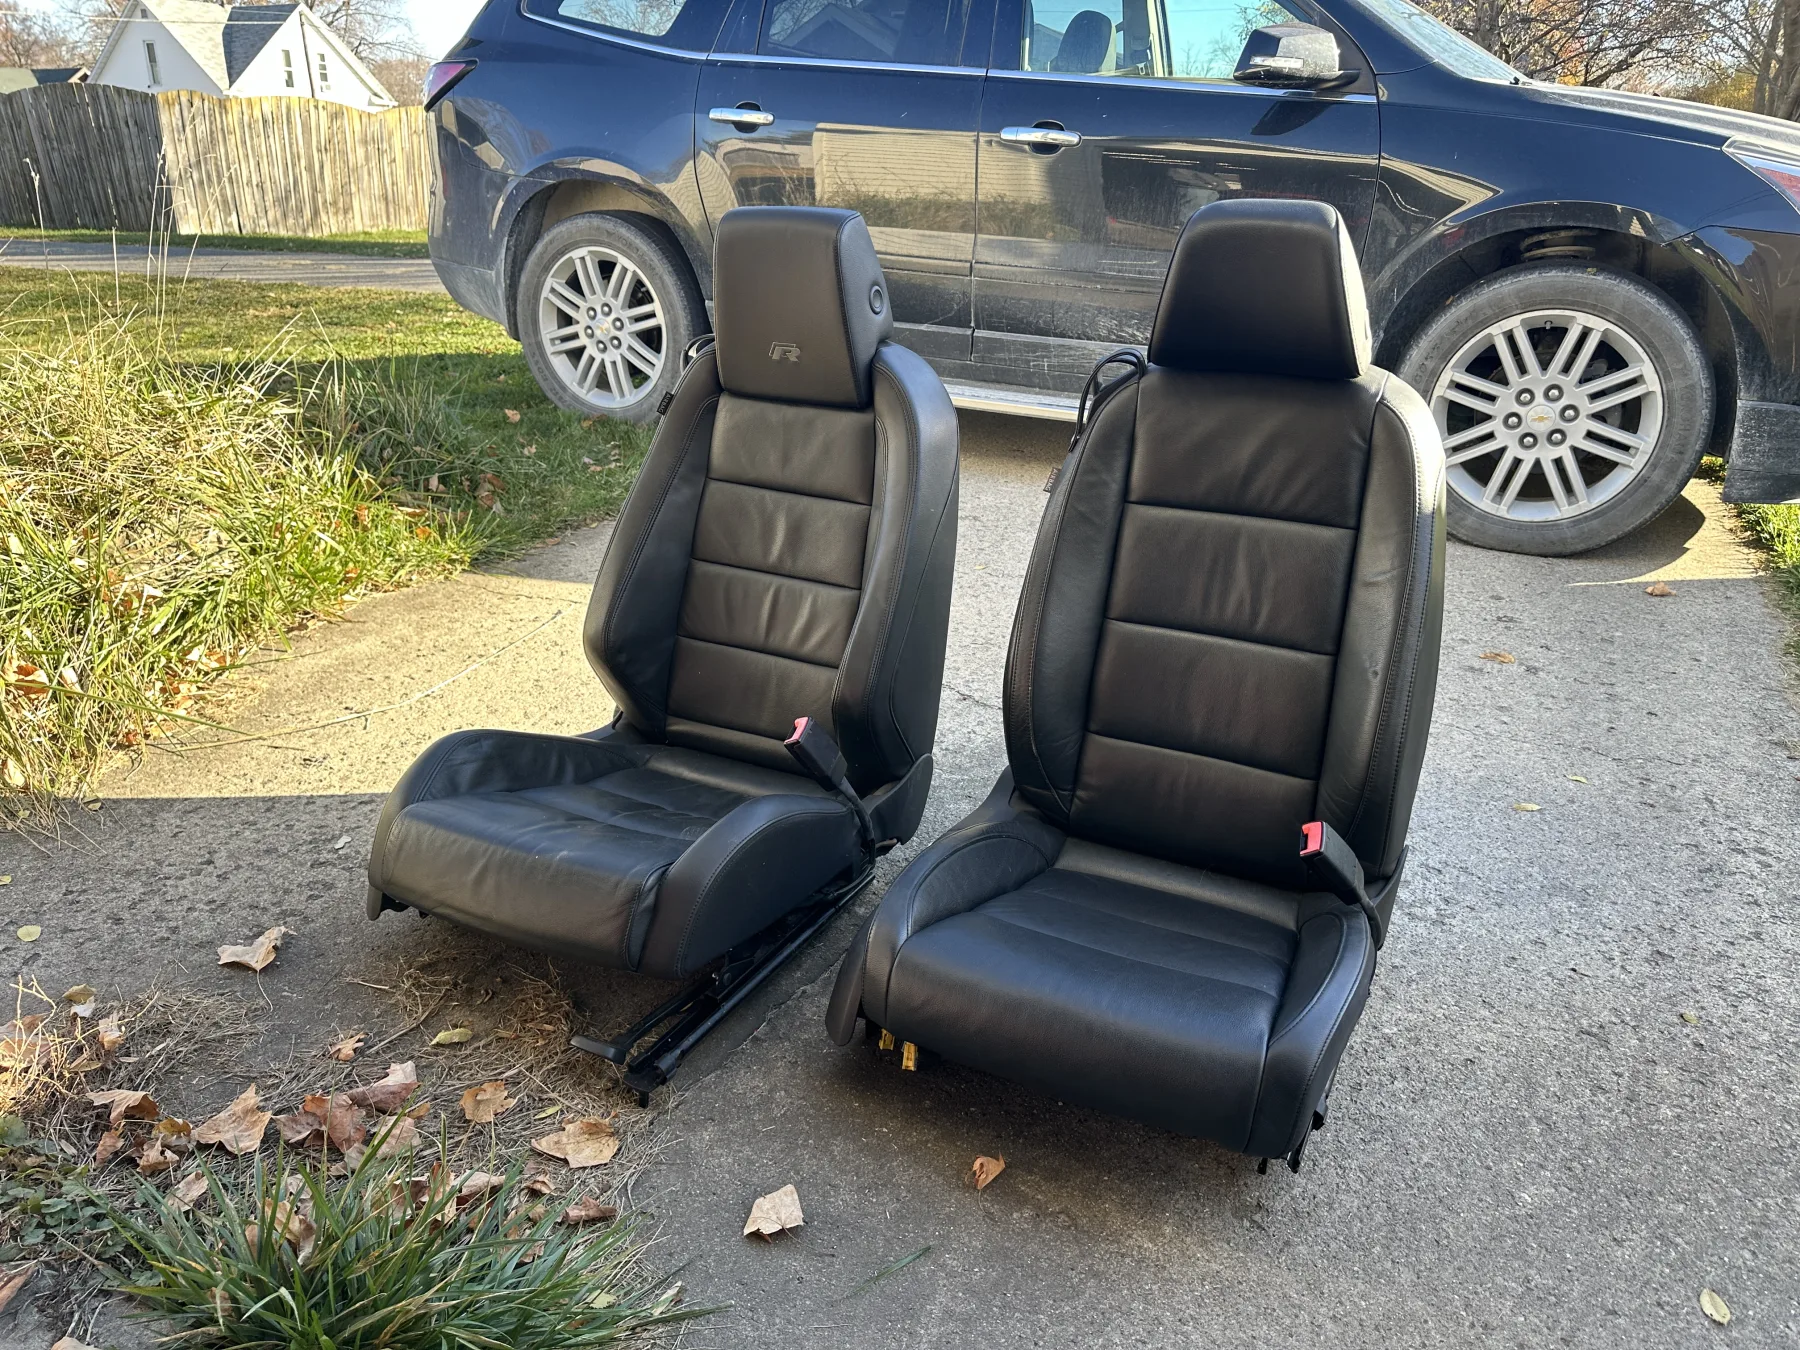
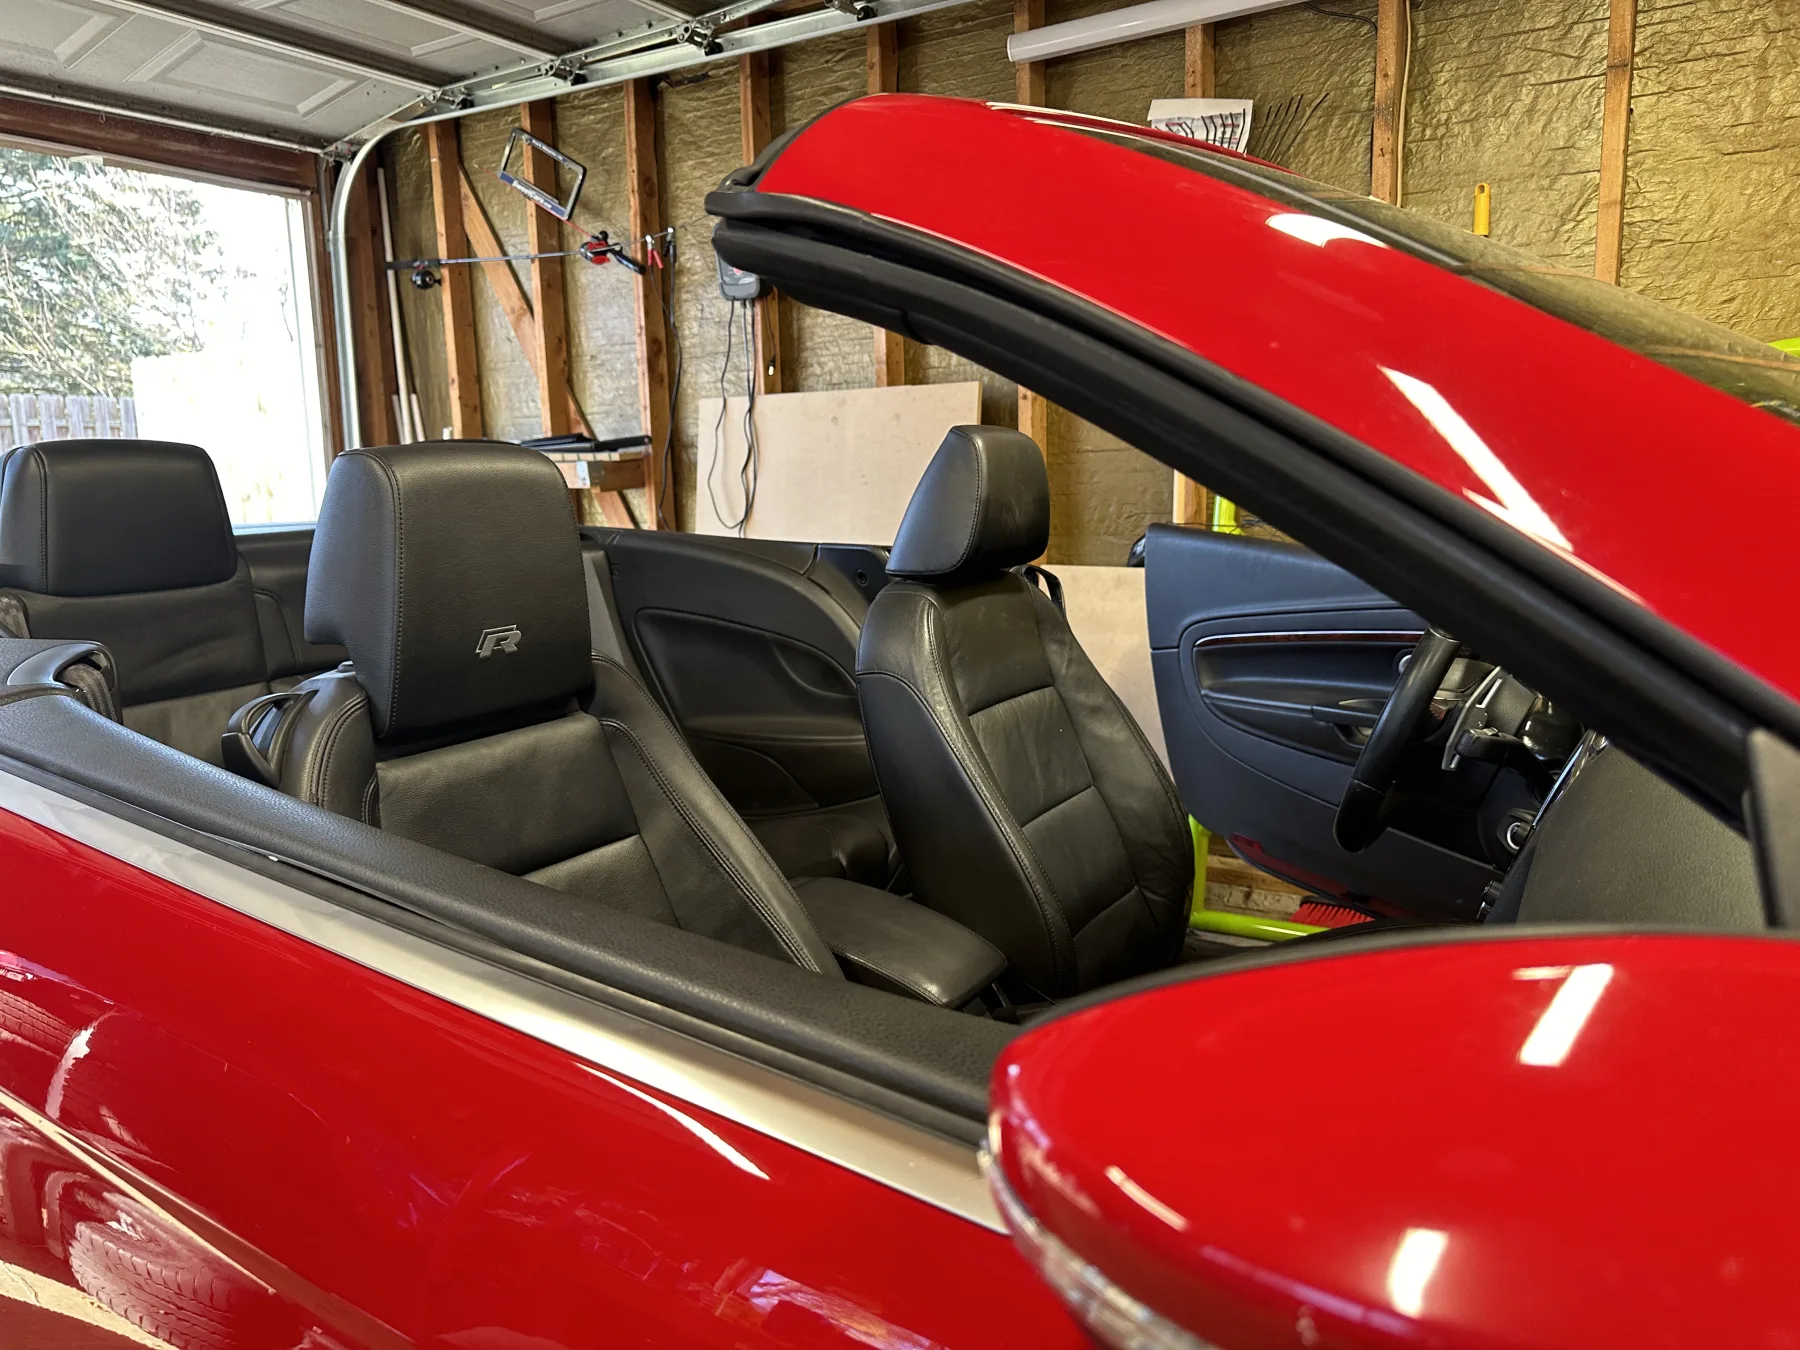
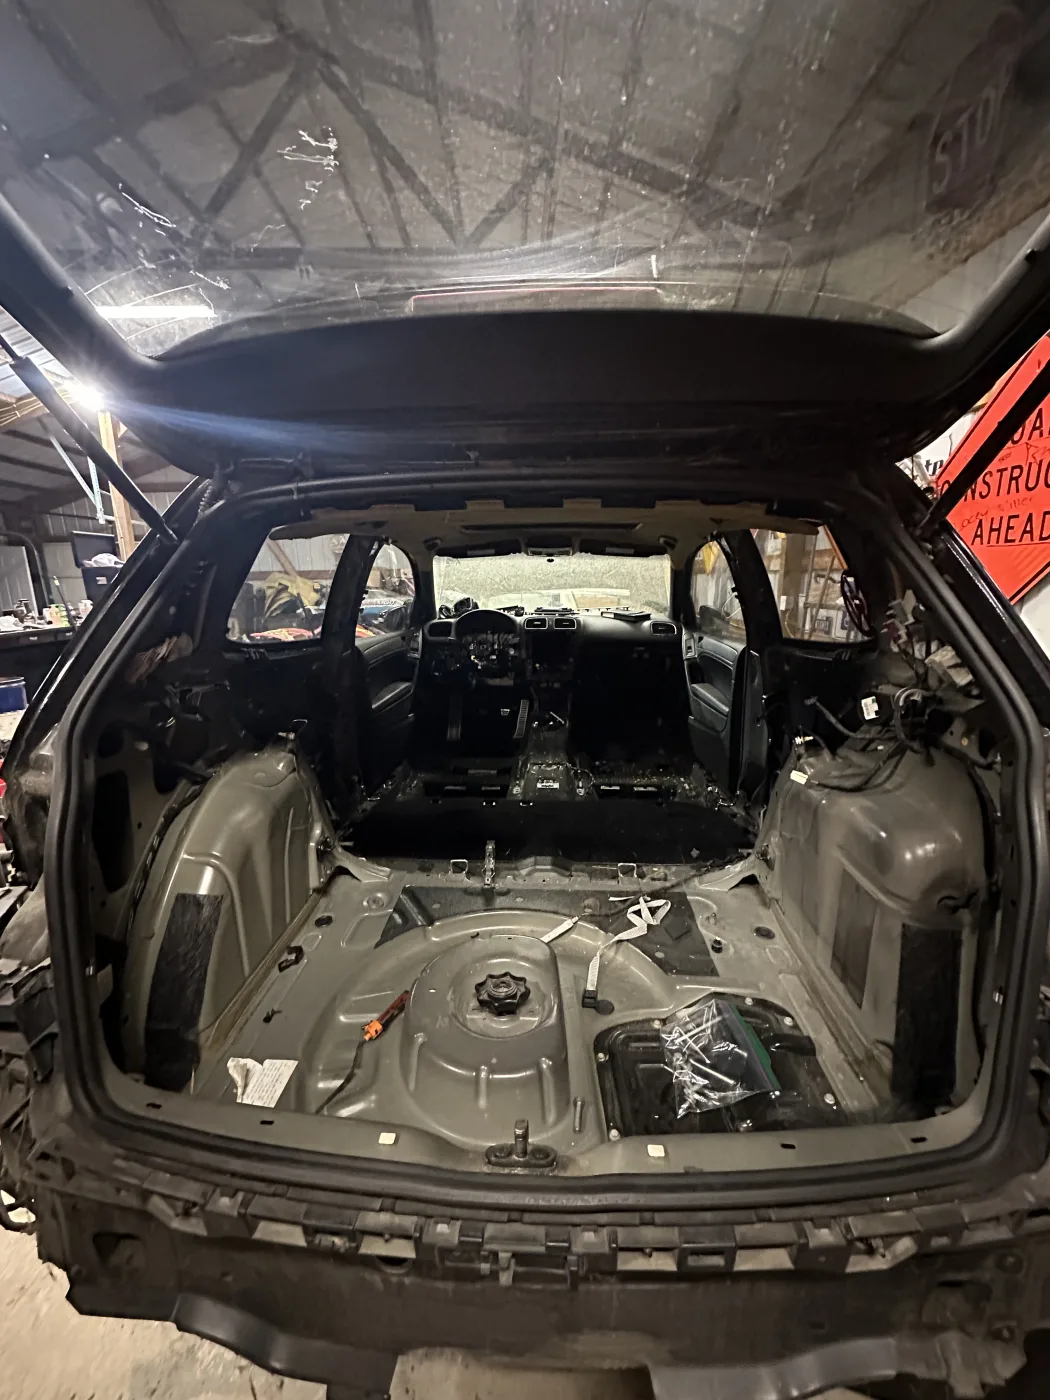
We wanted to get the Golf stripped so we could clear up some space. It was a little counter productive for a while. The more we pulled out of the golf the more we had sitting on the floor. While that isn't completely true its still mostly true. As we pulled some things I didn't wait for the swap before putting them on. While not part of the 4motion swap, we put the golf r front seats in the Eos, as well as the side skirts. The seats bolted right in (obviously, but may still need some wiring adjustments), the side skirts are held on by 3m tape ran down the entire top and screws in the oem locations in the front and back. I also took the entire harness home with me and removed parts of the harness to reuse. You can buy a harness from ShopDAP that is a drop in harness for the Haldex and second fuel sending unit. I bought it but ended up stripping it out of the donor harness. Part of the swap was also removing the DSG from the Eos and swapping in the manual for the 4motion. One more of the bits of harness I needed was the reverse switch harness, the DSG gets it from the MECH unit. the manual has a switch. So I pulled that also.

It was then time to start the actual swap. The first thing was the manual swap, we wanted to get the DSG out and the manual in. One of the cool thinks about the swap is physically how easy it is. The DSG came out, super cake. I had to get a clutch, the mk6r is an FSI and i probably wouldn't have installed a used clutch as it is.
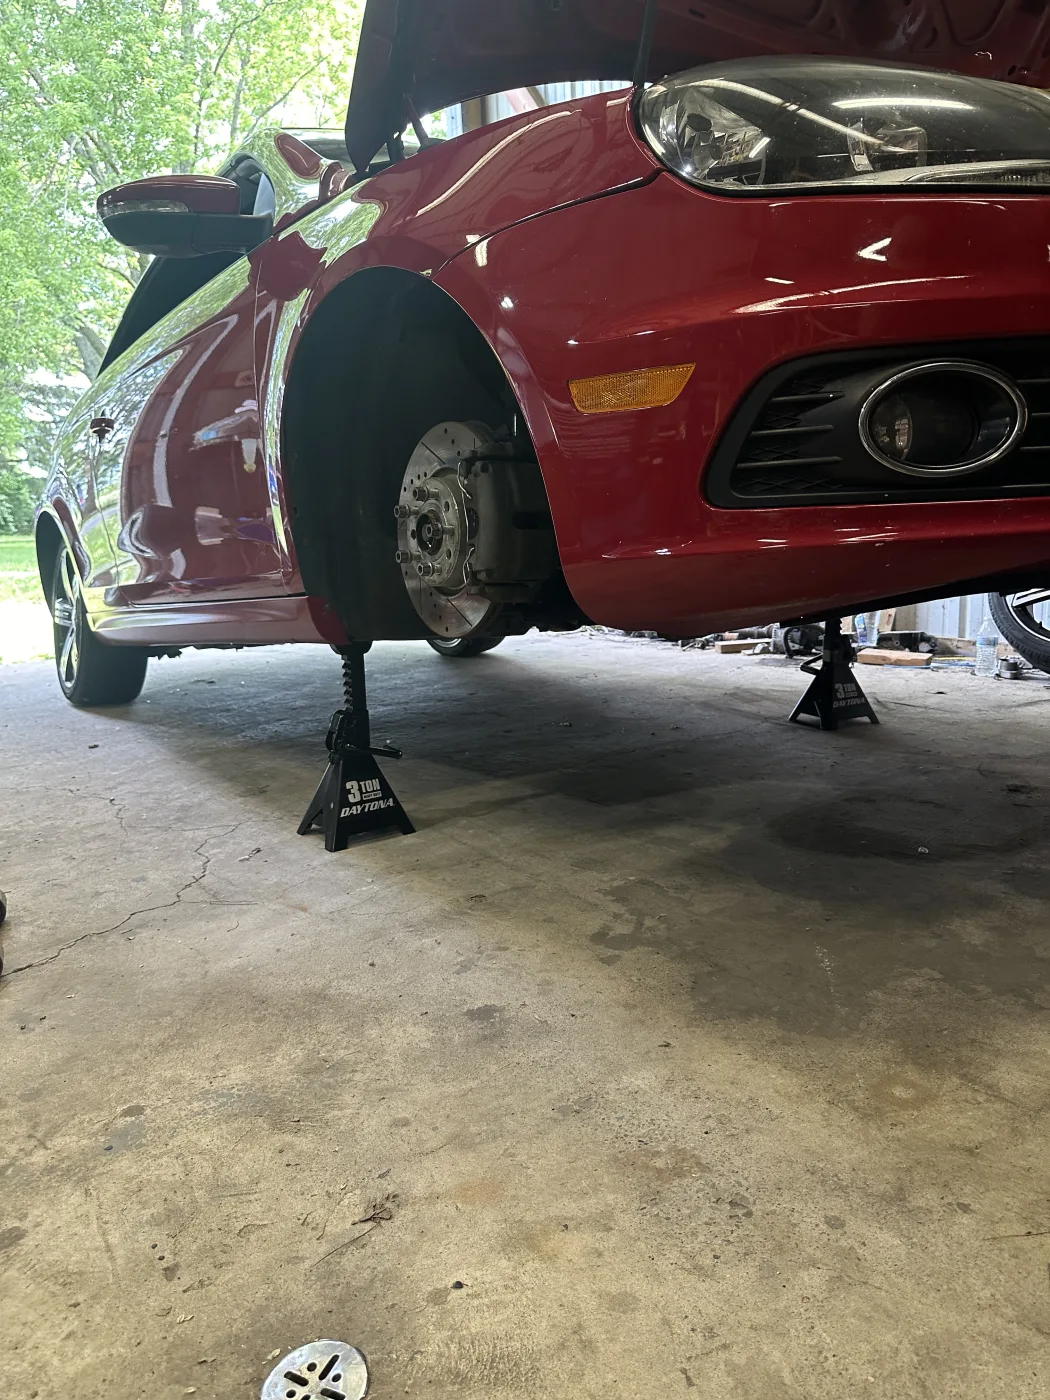
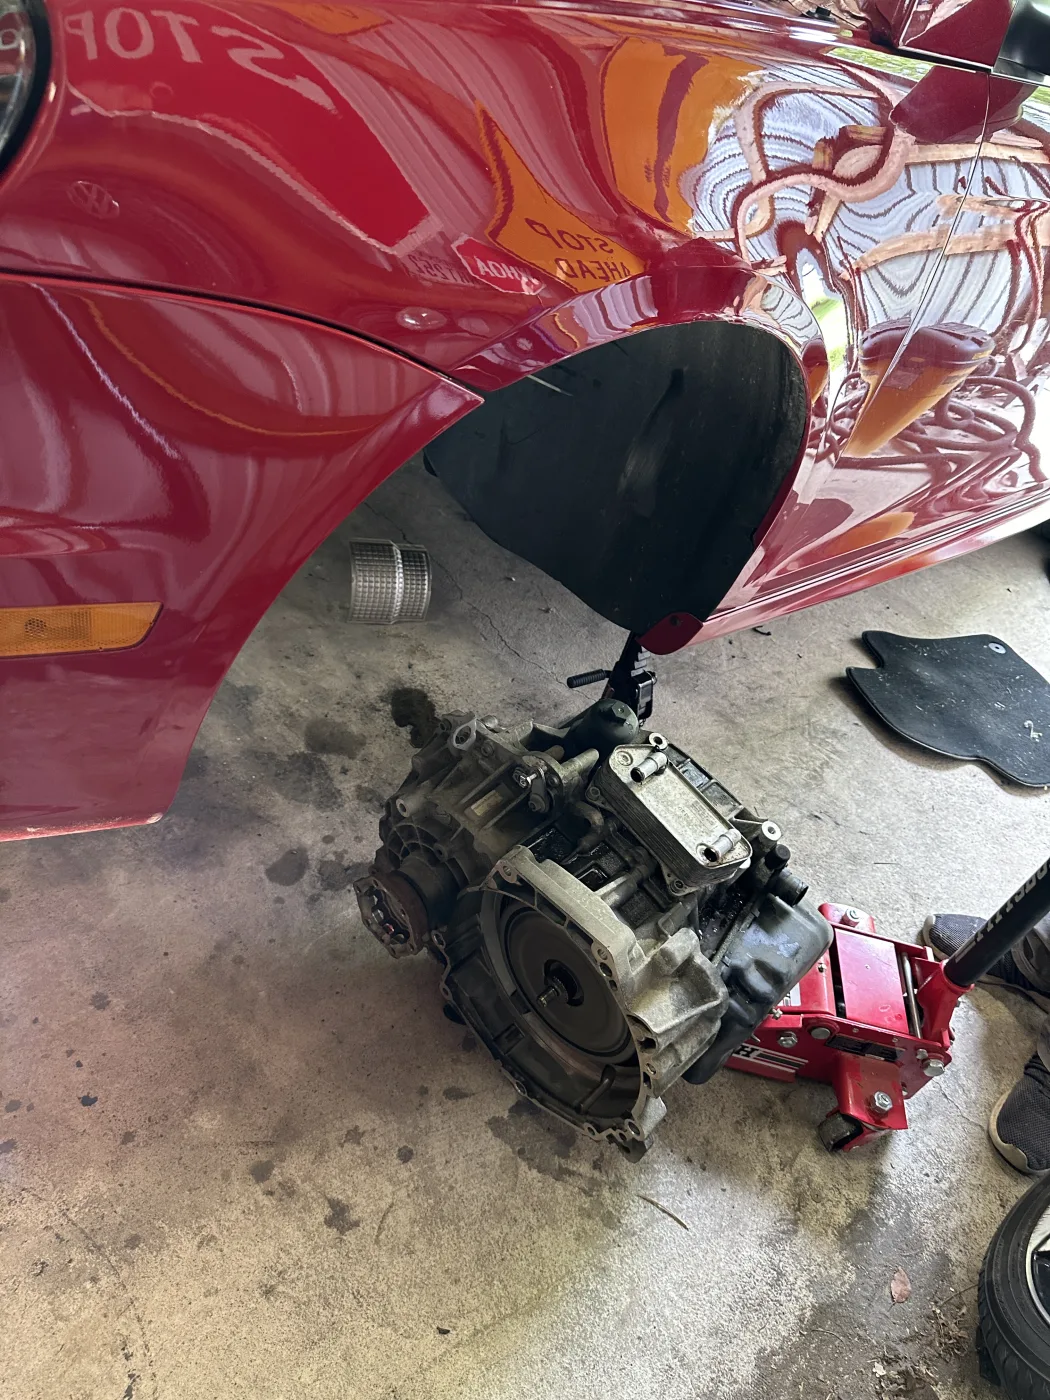
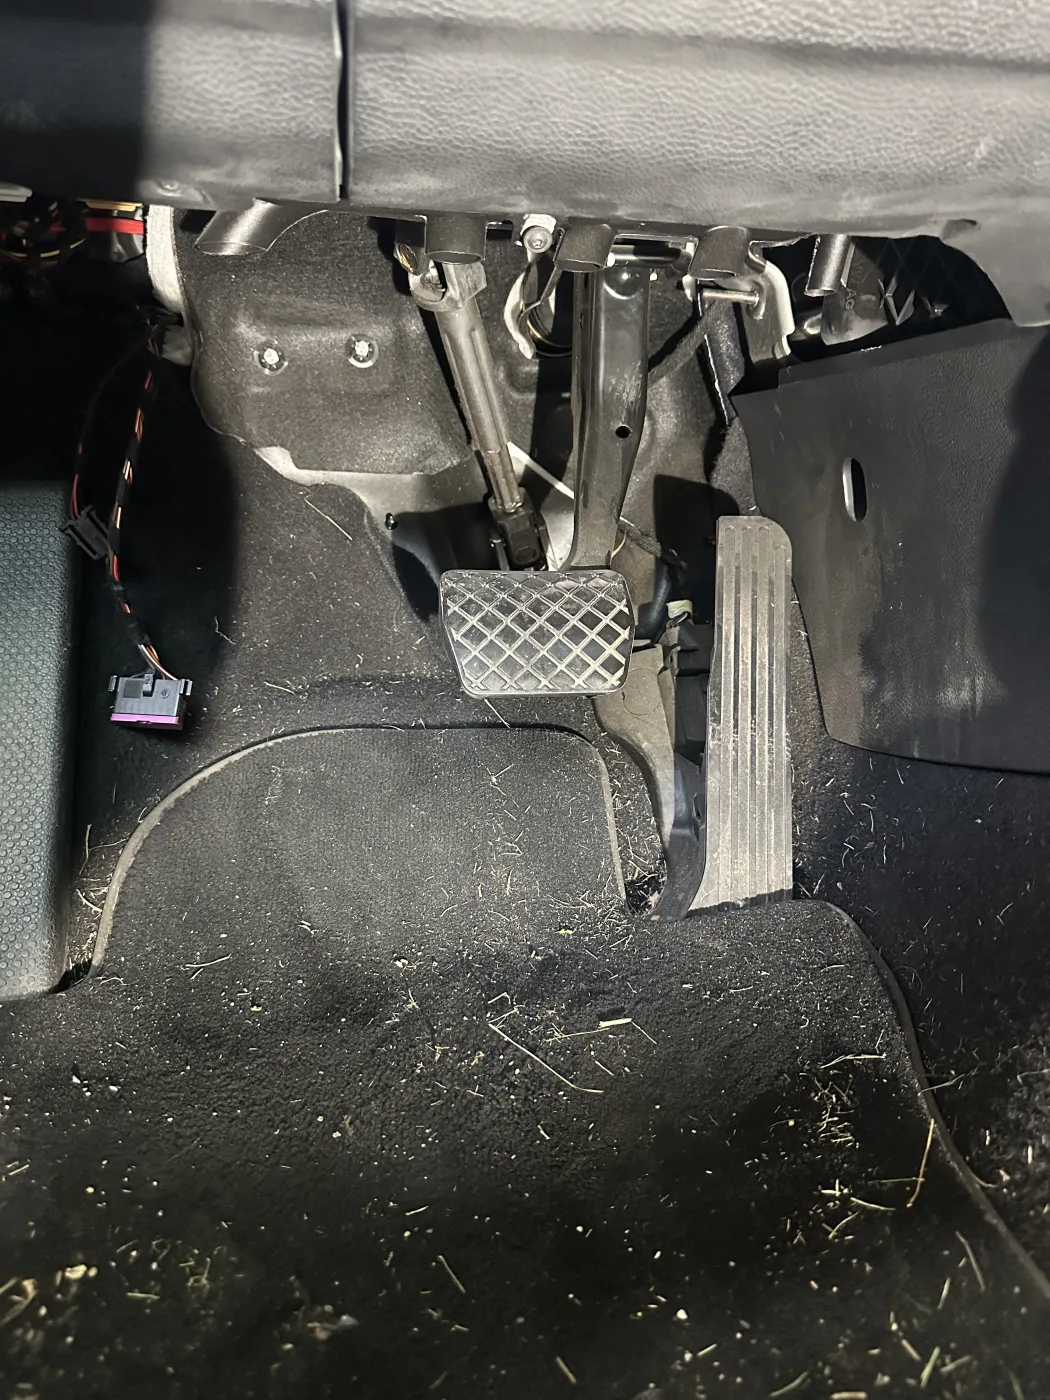
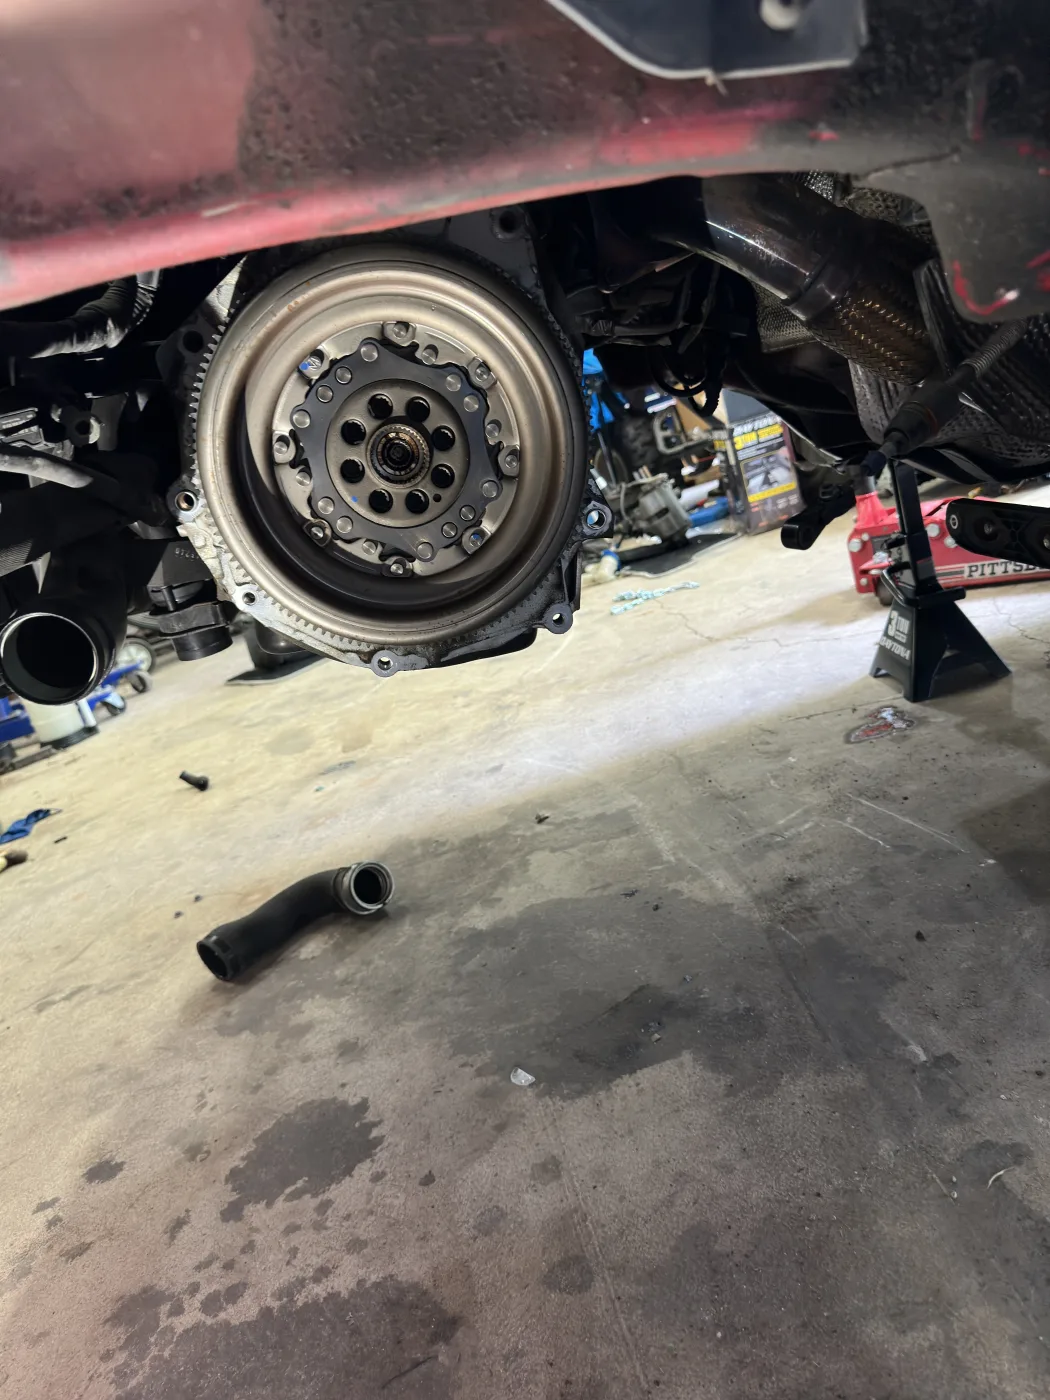
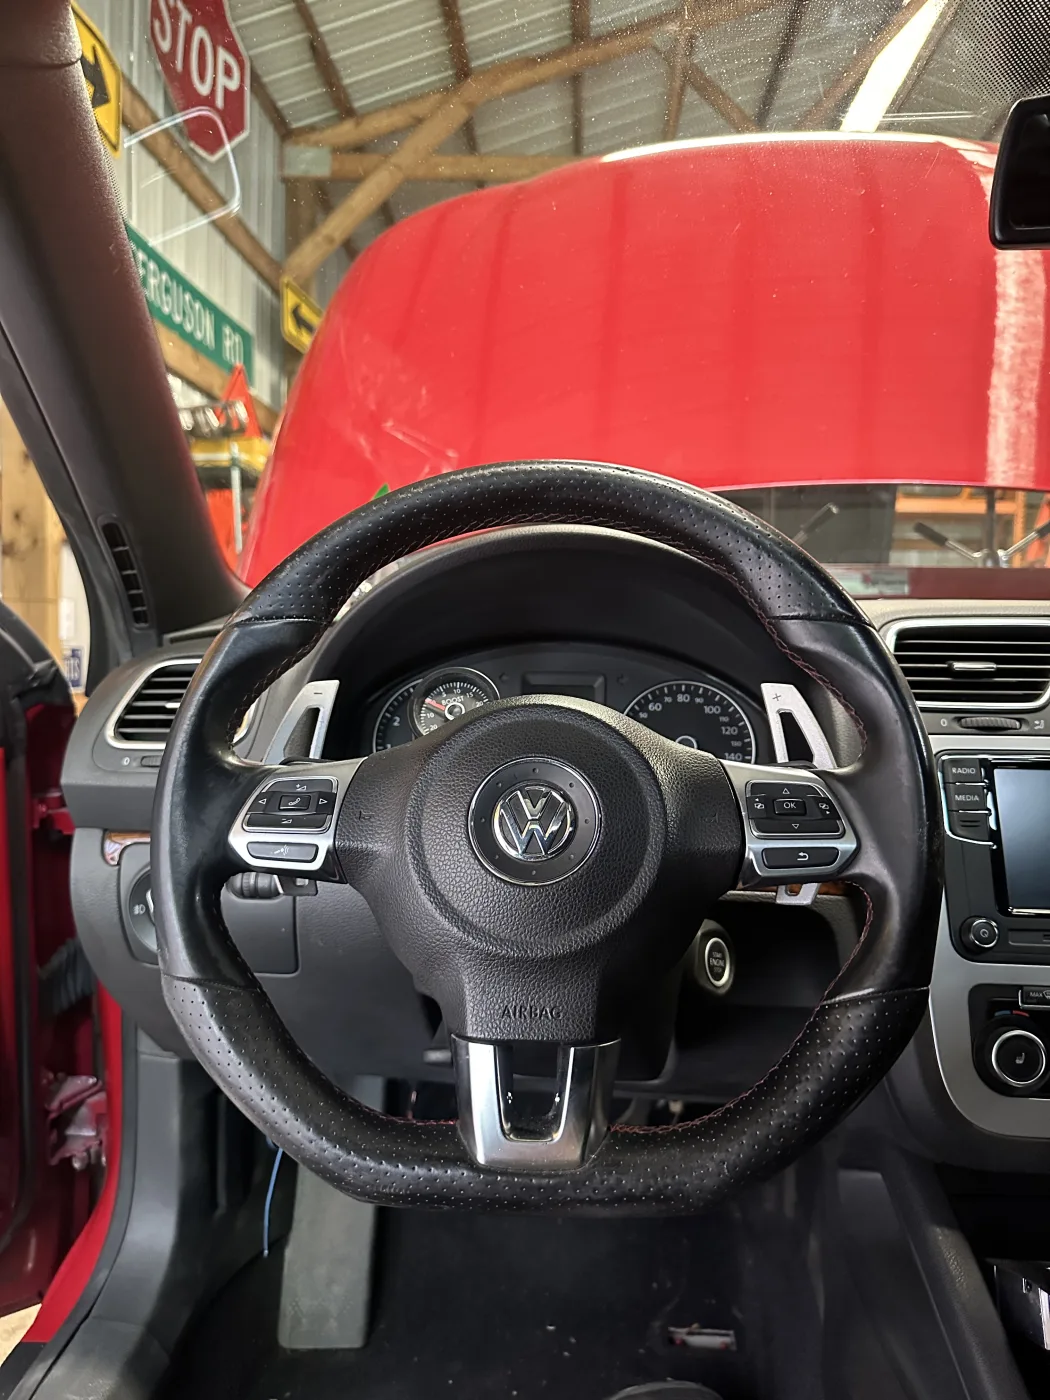
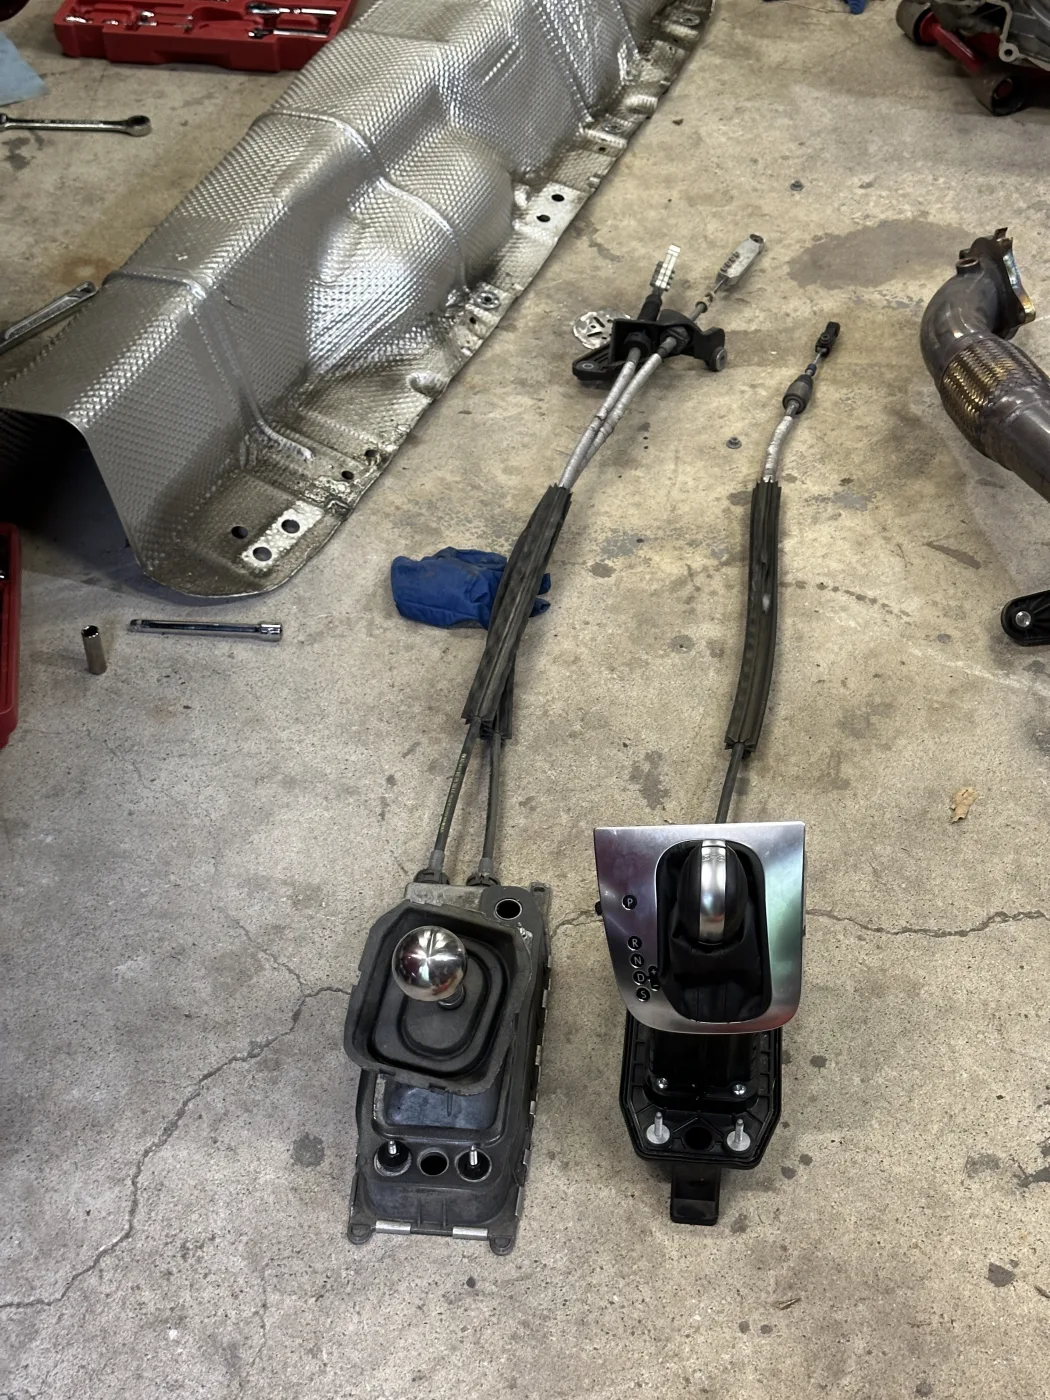
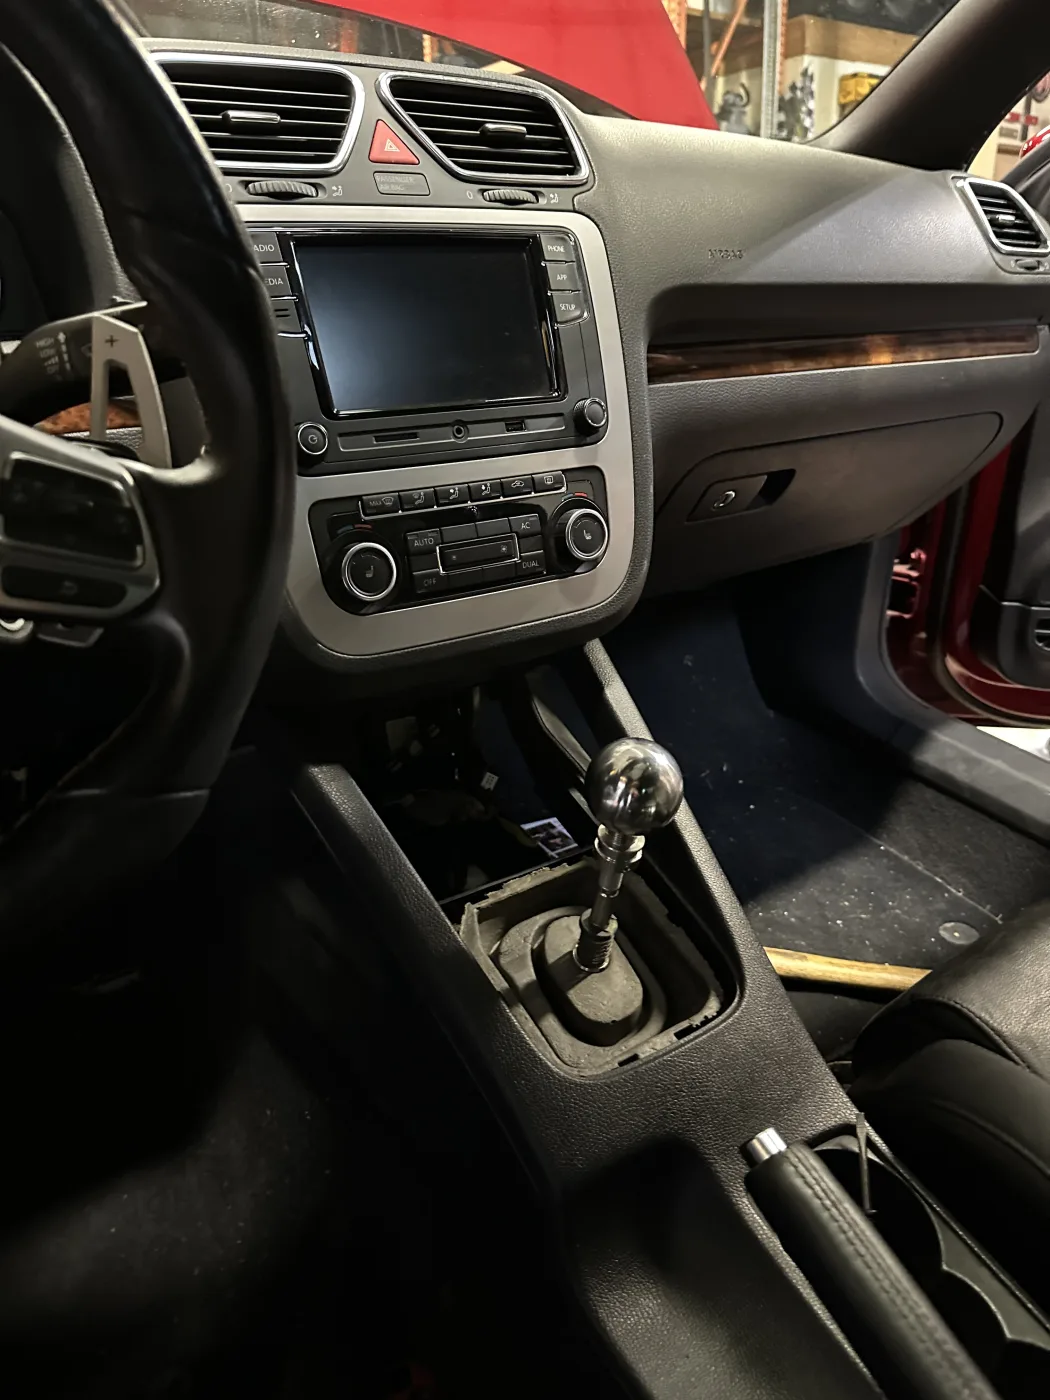
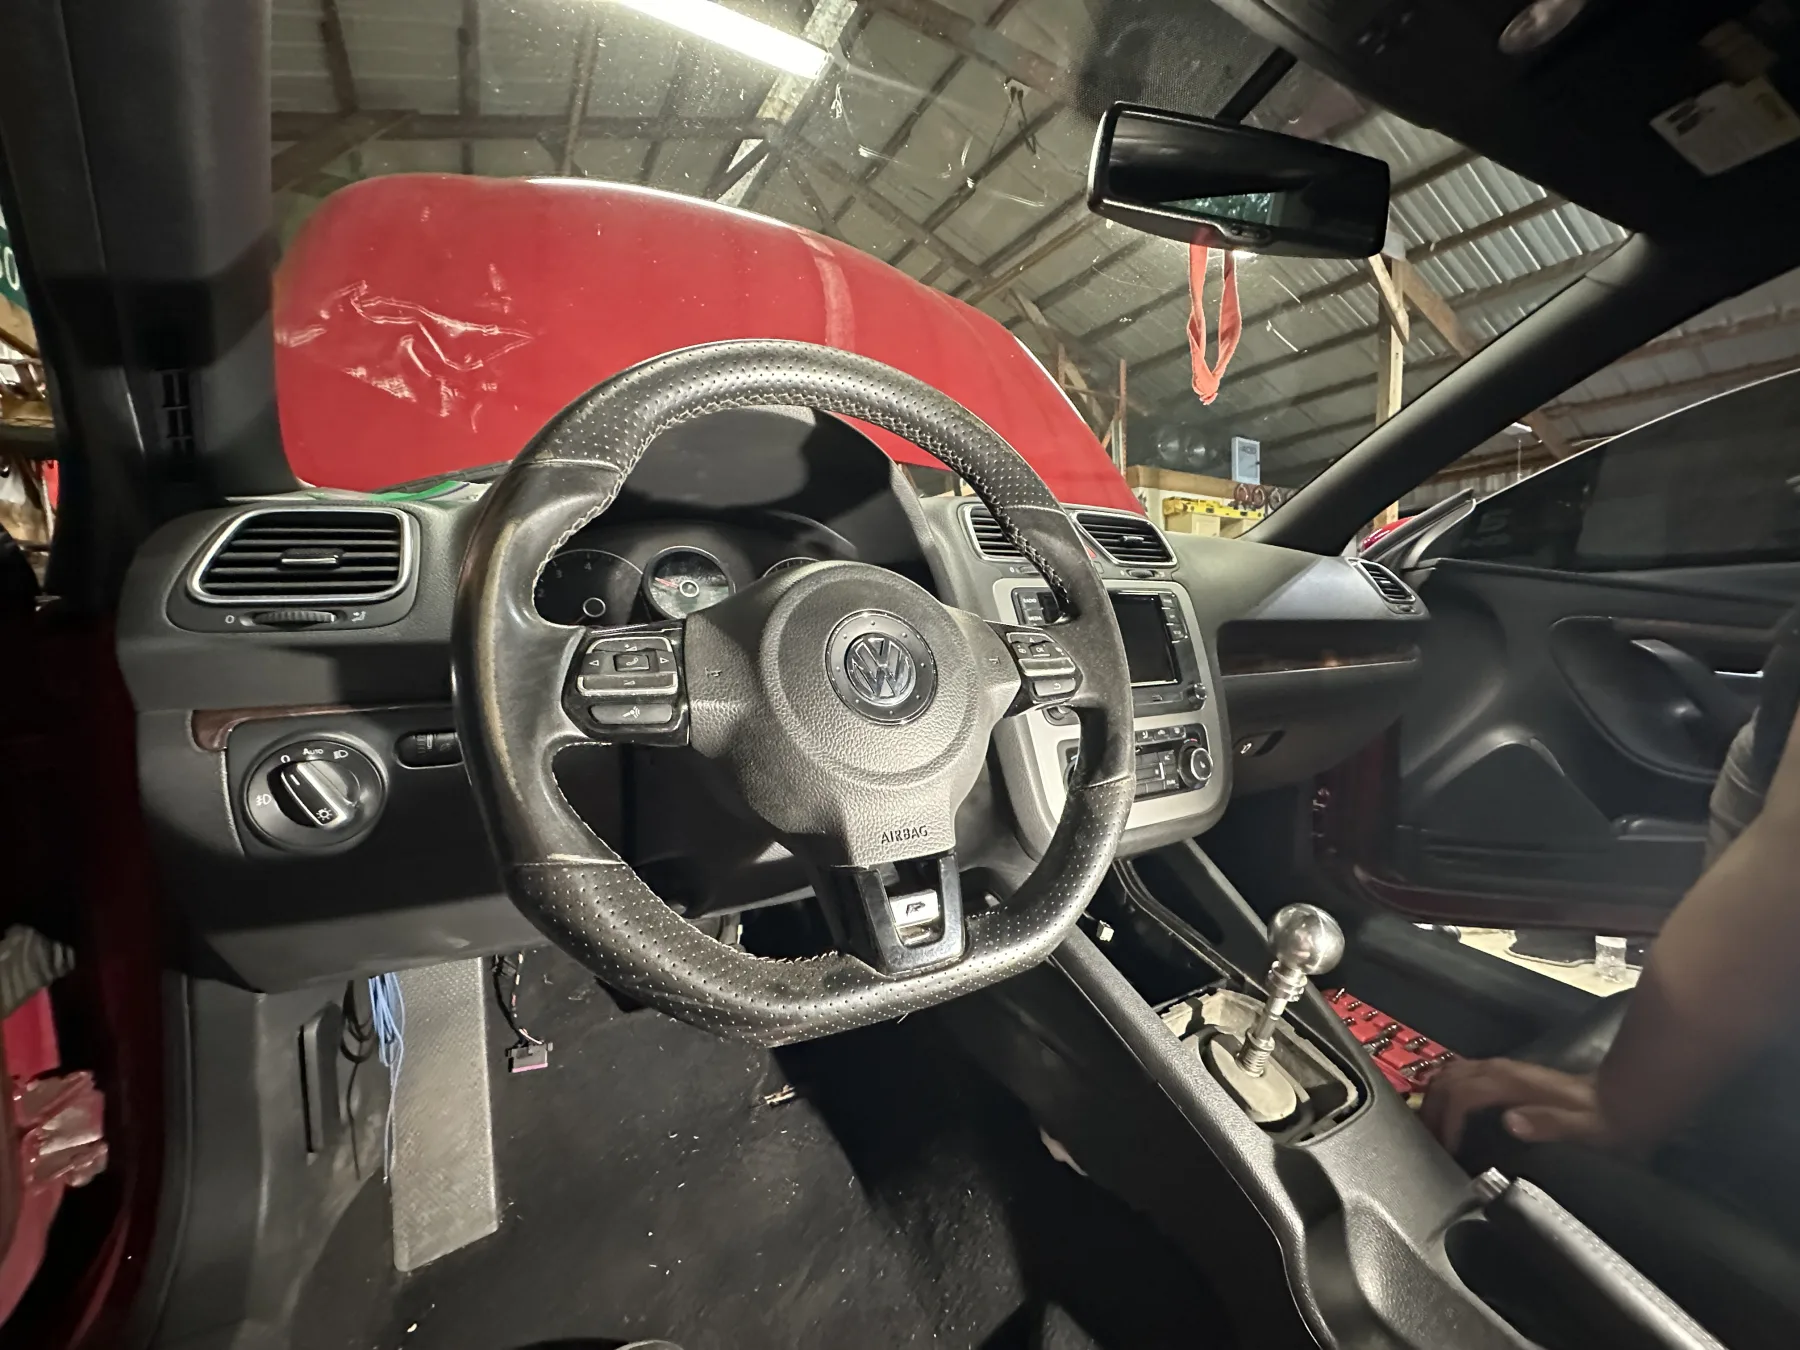
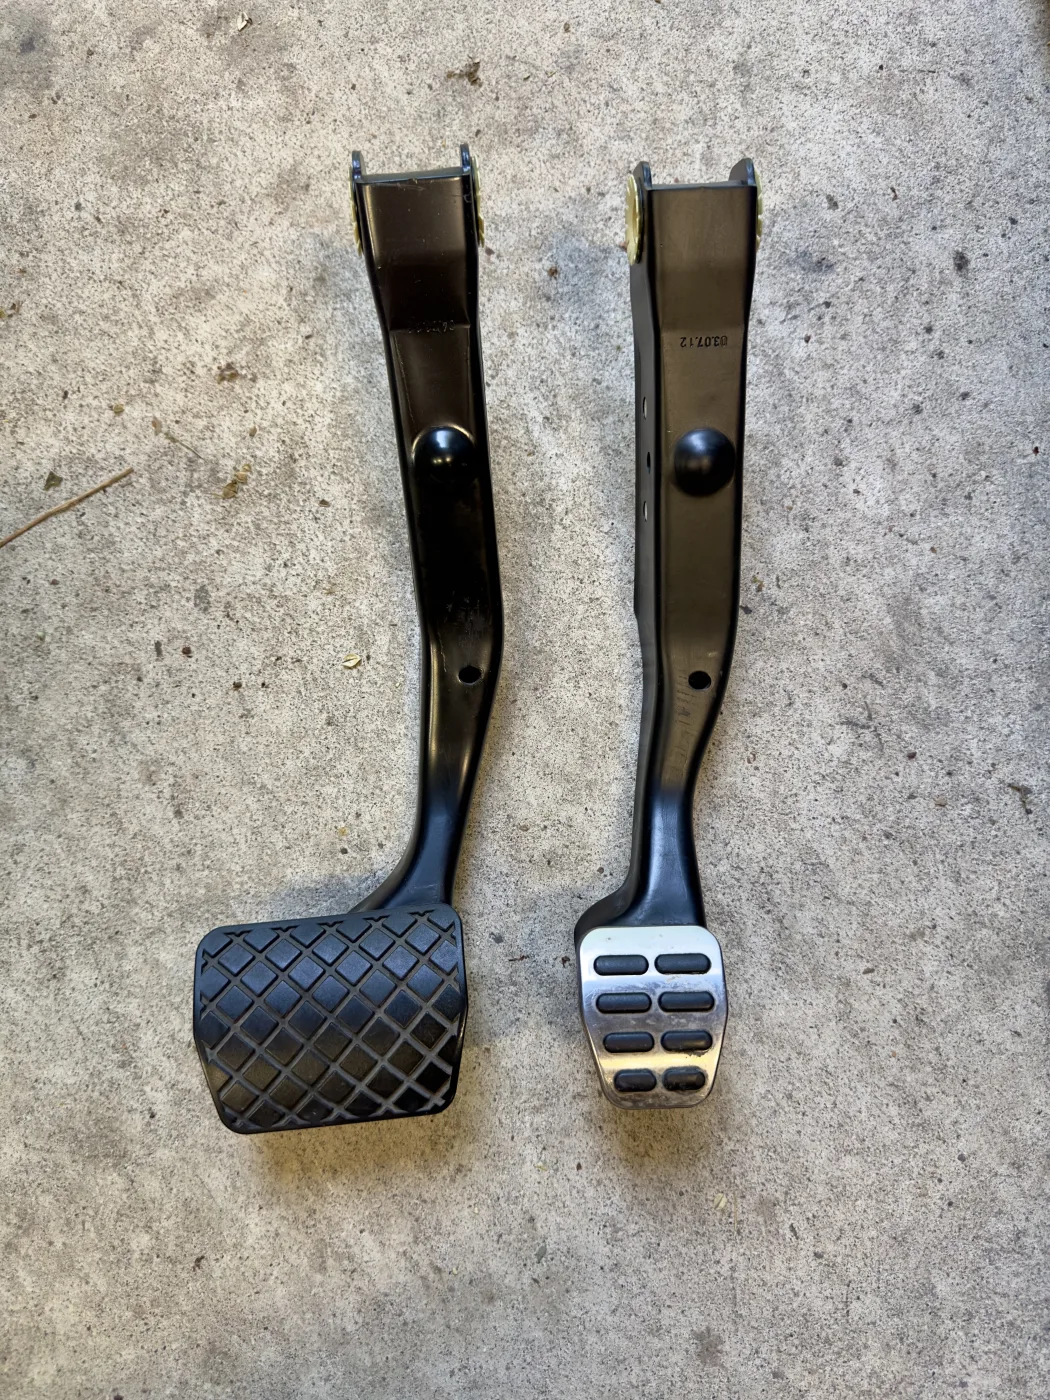
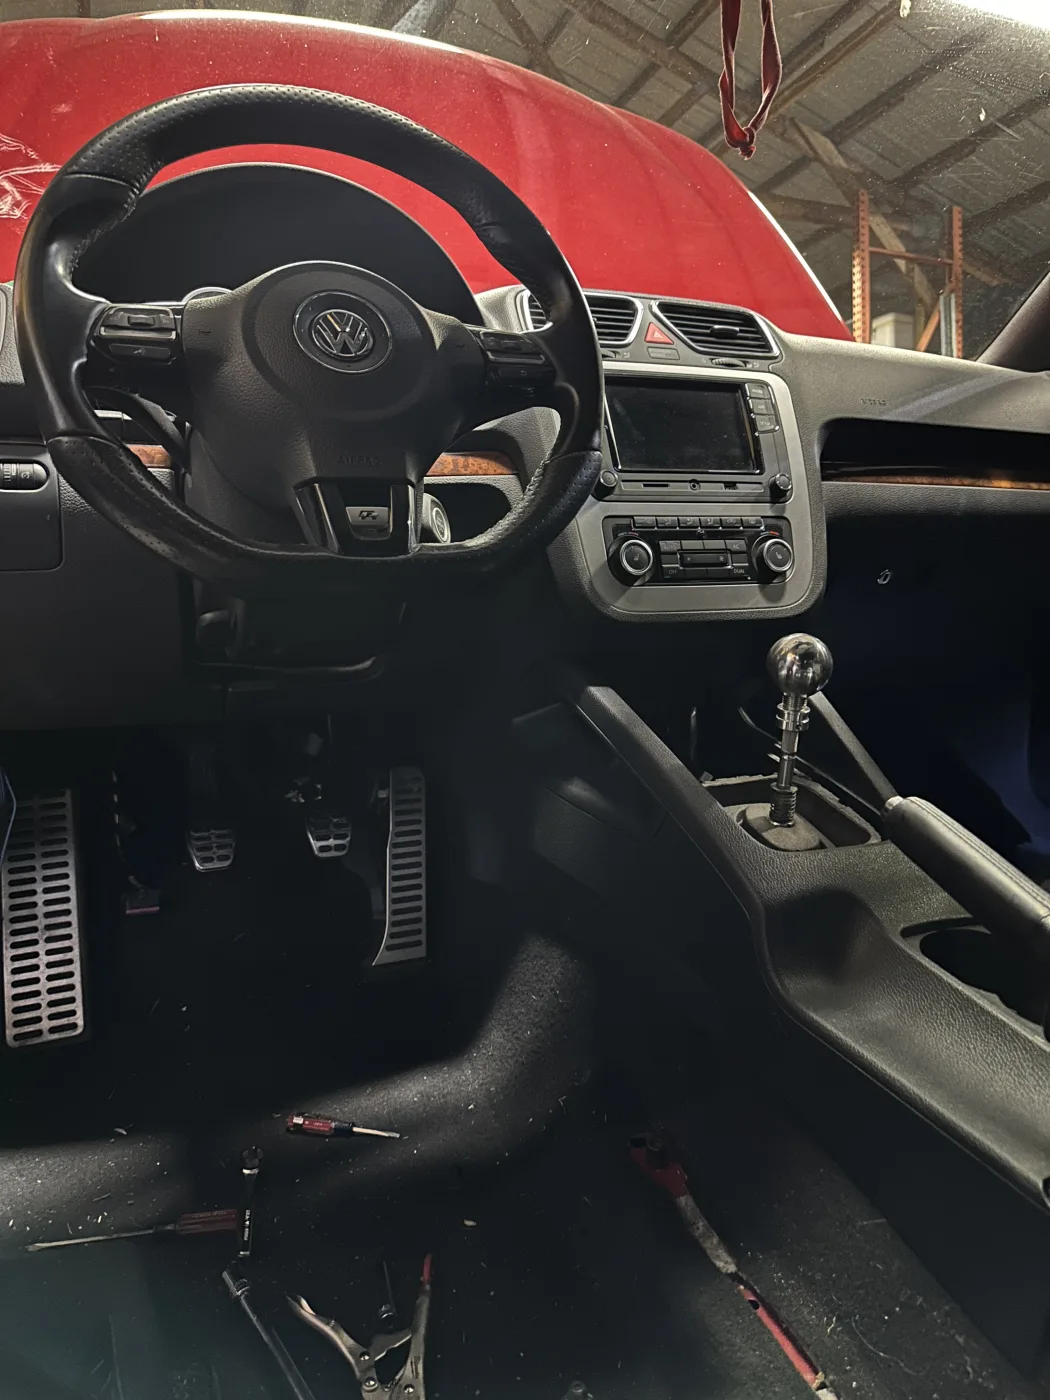
We dropped the front subframe with all the suspension and steering rack like we did on the mk6. While the transmission was out, we took out the DSG gear selector, and the automatic brake pedal. The the brake pedal install was just as easy as taking out the stock one. Get the tool it helps. The clutch install was almost just as easy! Under the dash, there is perforation in the foam with a rubber grommet behind it, you pop that out, The master cylinder goes though that opening and the studs to mount it are already there. It just needs the nuts put on and tightened. The brake revisor has a nipple that is pinched shut. you literally just cut it and the line form the master cylinder snaps right on! There is a plug for the clutch position sensor, as well as the other line that runs to the slave cylinder.


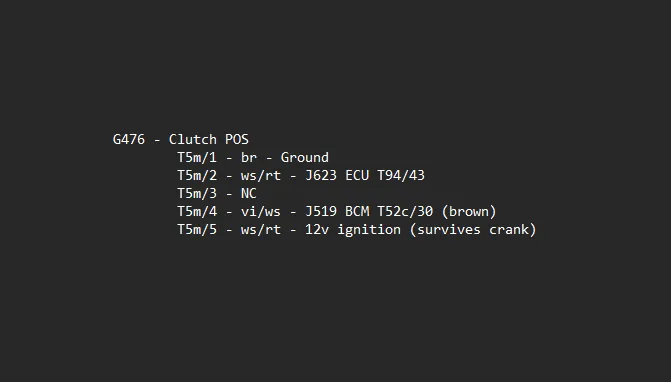
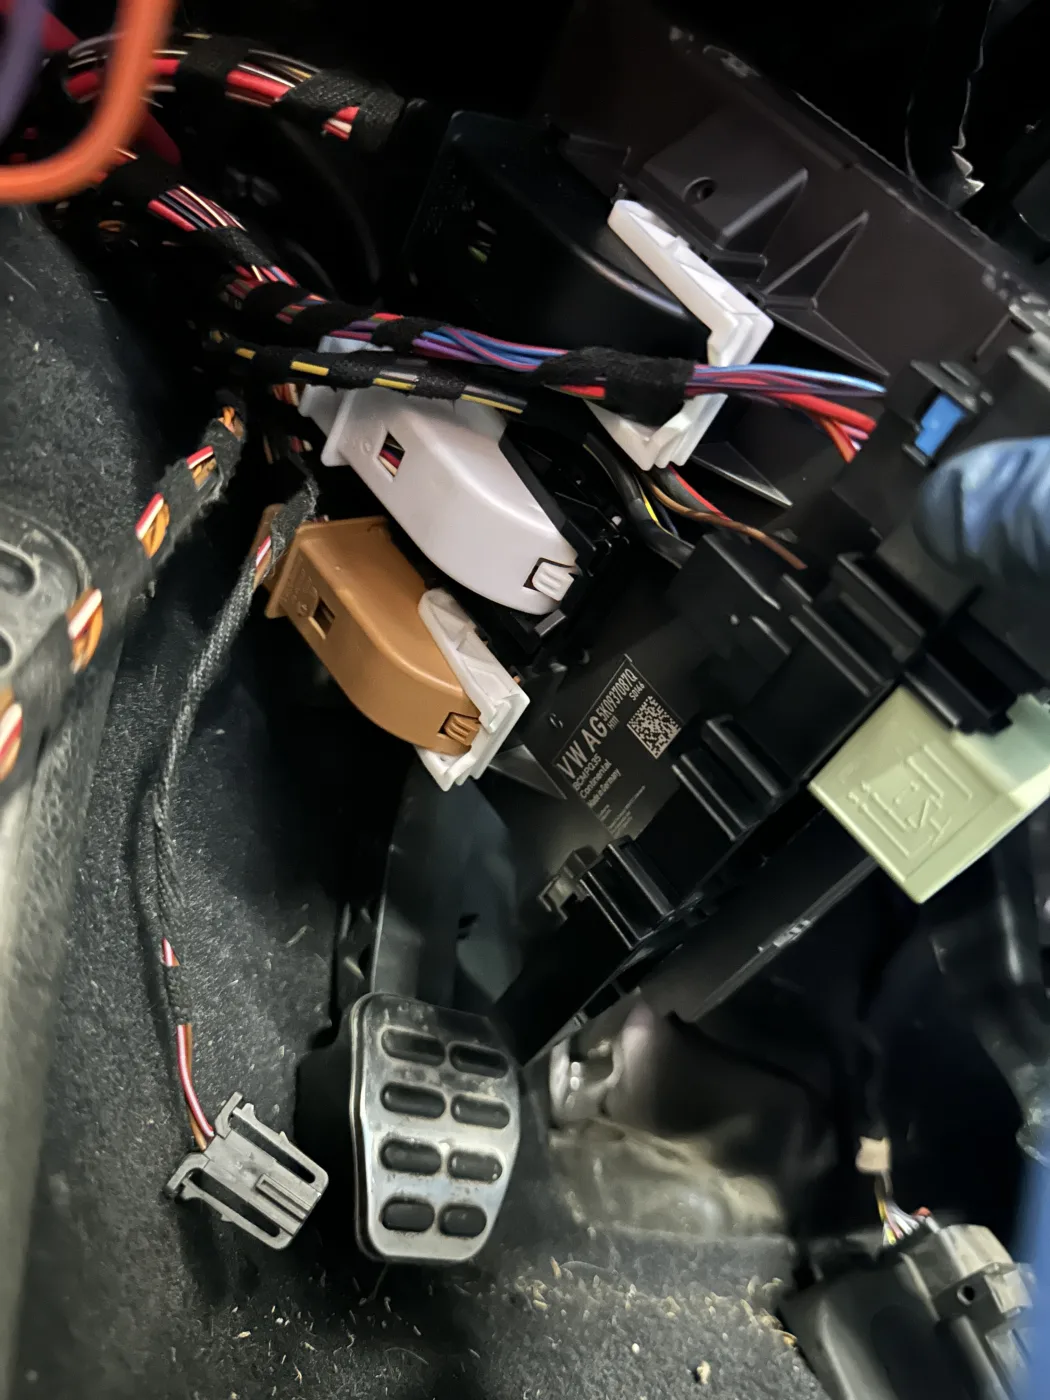
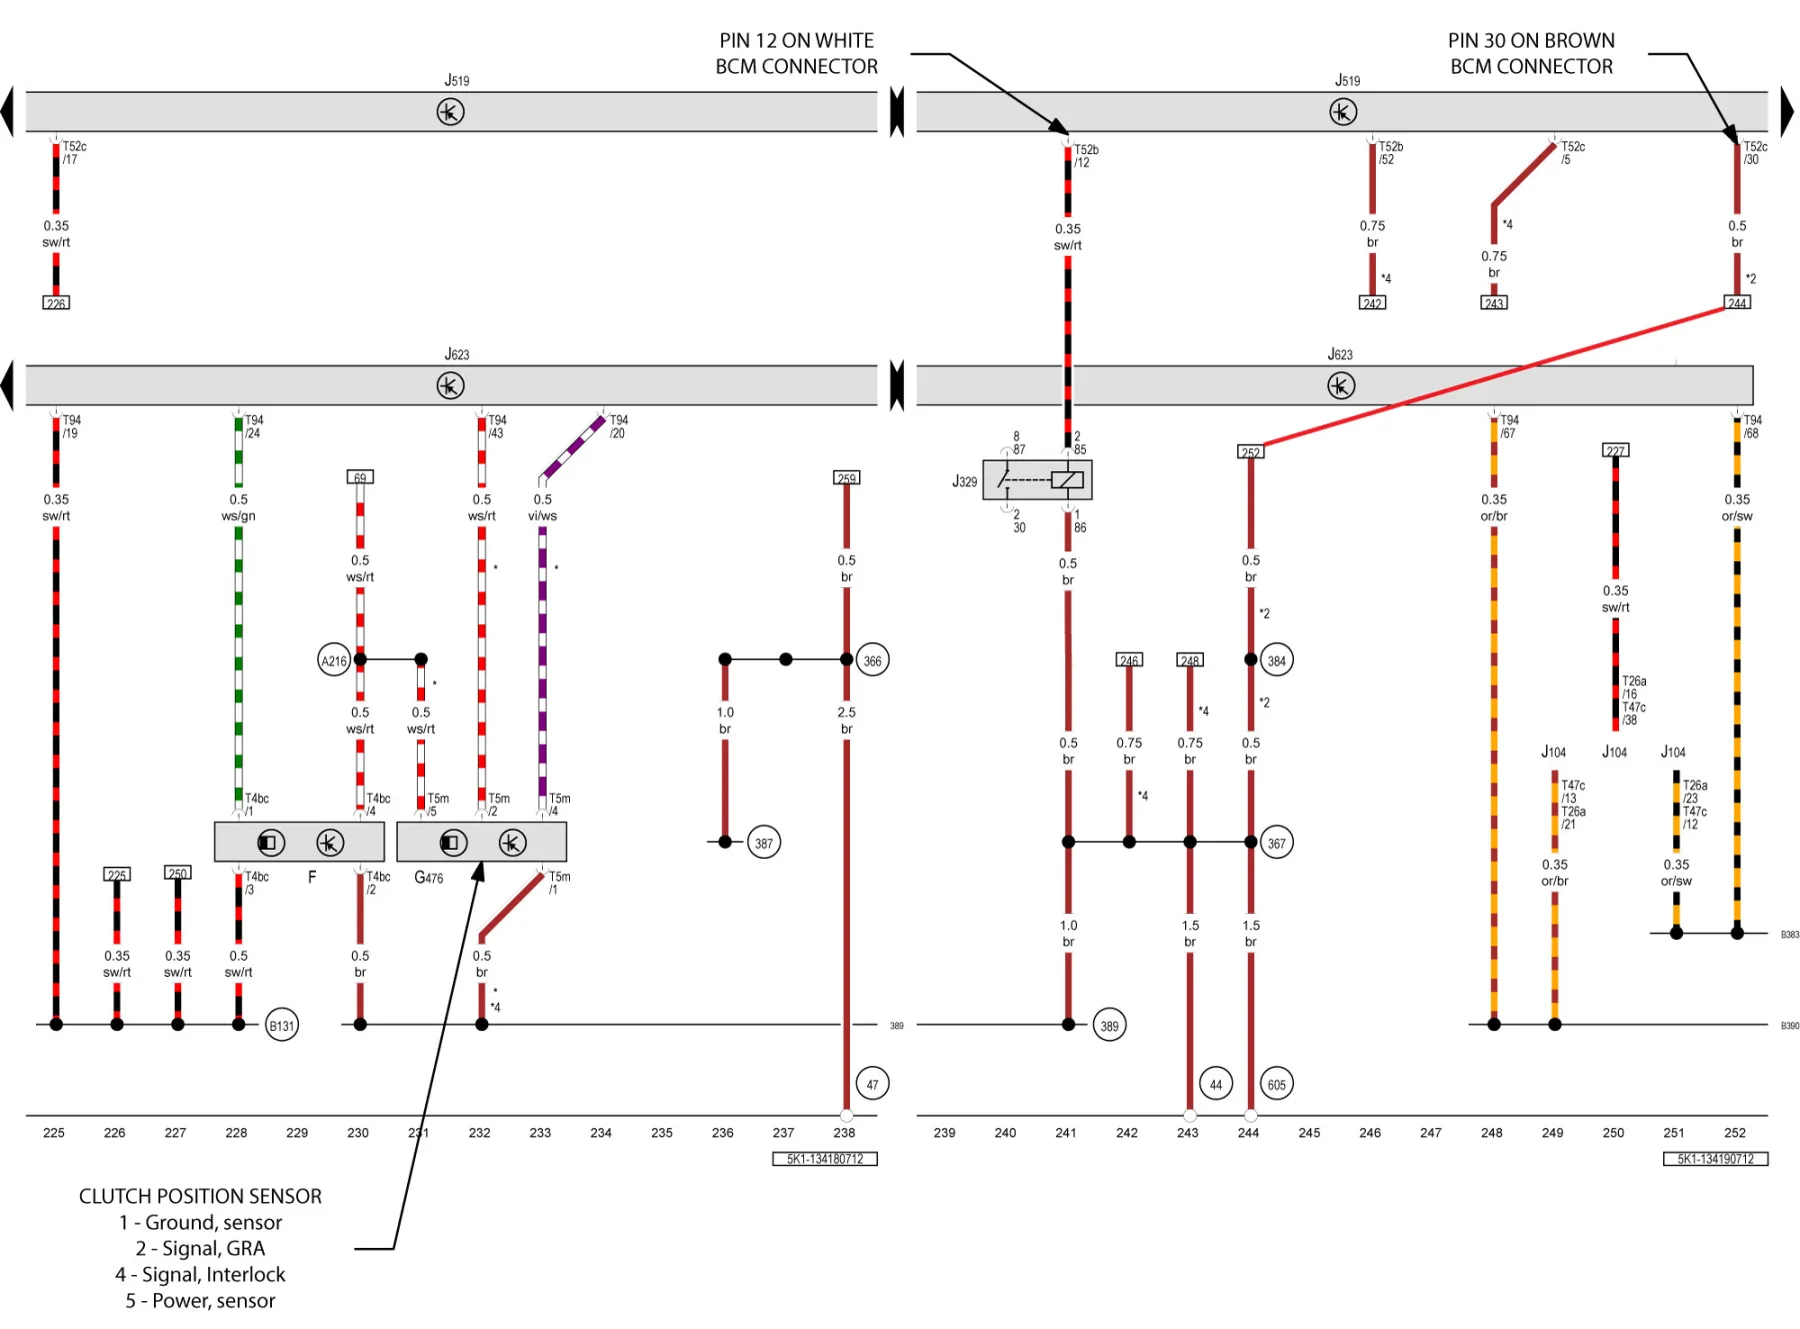
After the clutch pedal and manual shifter where installed, we installed the flywheel and clutch. Getting the transmission mounted was just like it was supposed to be there. One of the "hurdles" was the bevel box bracket. (02M-4099-05A-Q) It is off an 8P A3, since the A3 was basically a GTI and came in 4motion with the TSI. The mounts on the block were already there, getting the manual 4motion transmission mounted was a bolt in affair. Then it was time for the first bit of wiring. I will save you the trouble of all my back and forth of trying to figure out why it wouldn't start, but since i was working off a diagram from a 2010 EOS since it was offered in a manual, some of the wiring was different. The clutch position switch is a 5pin harness with 4 pins populated. Pin 1 to ground, pin 2 to the ECU, pin 4 goes to the bcm, and pin 5 is a 12v source that survives cranking. Once we got that figure out (with help form Jason at RevMap Performance, he is also the one that did my ECU work, he coded the ECU to allow it to be checked as manual). We were then able to get it started as a manual for the first time, that honestly was a huge relief.

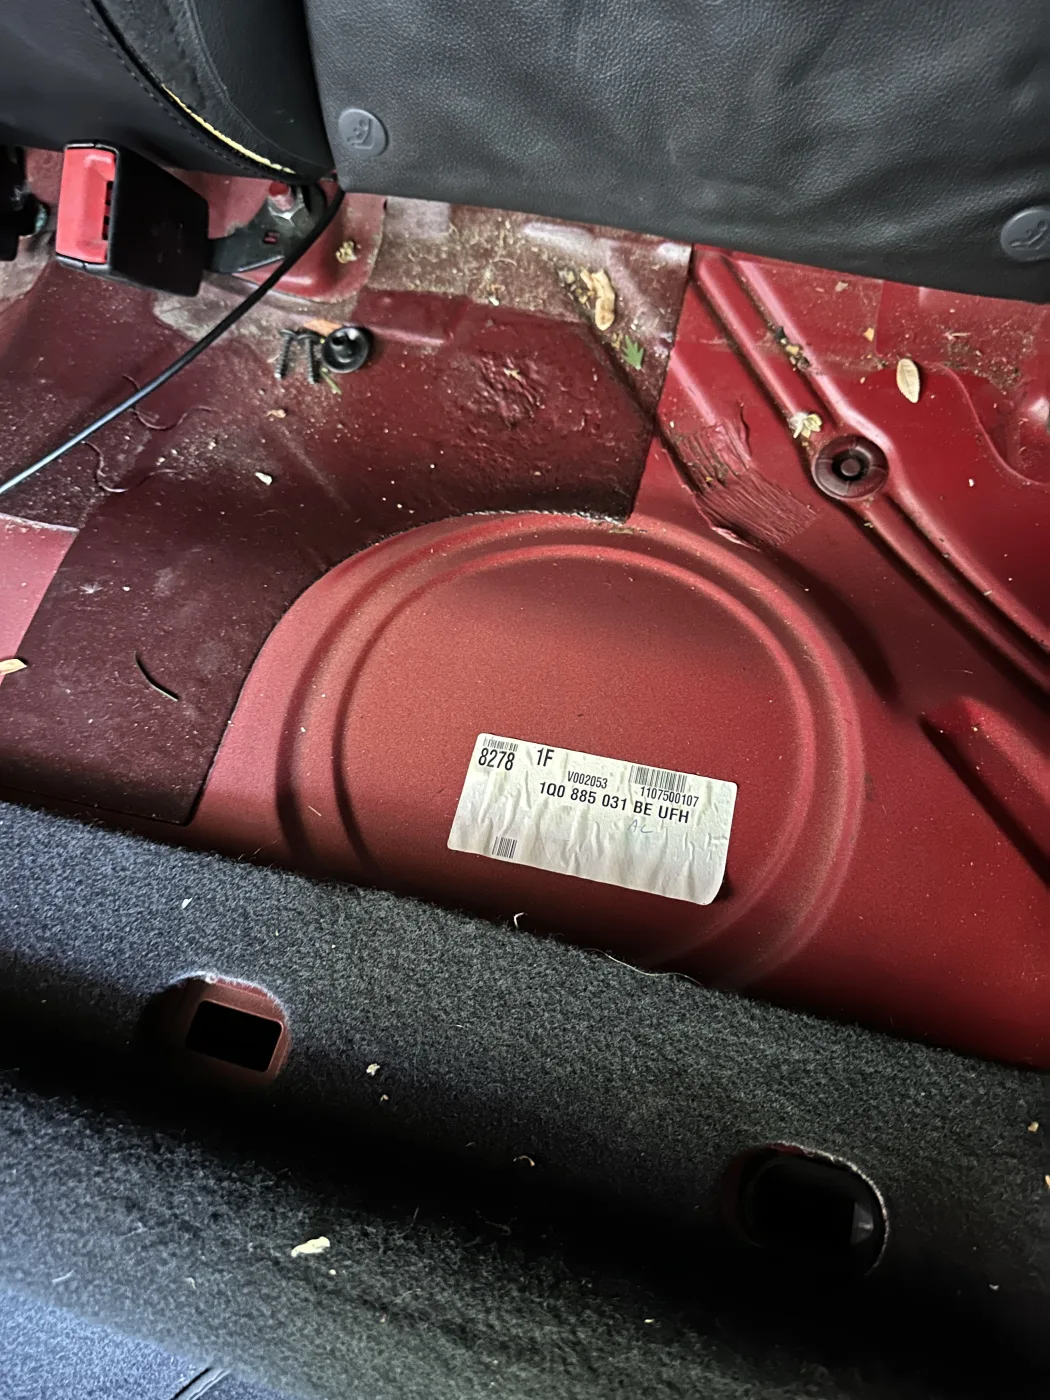
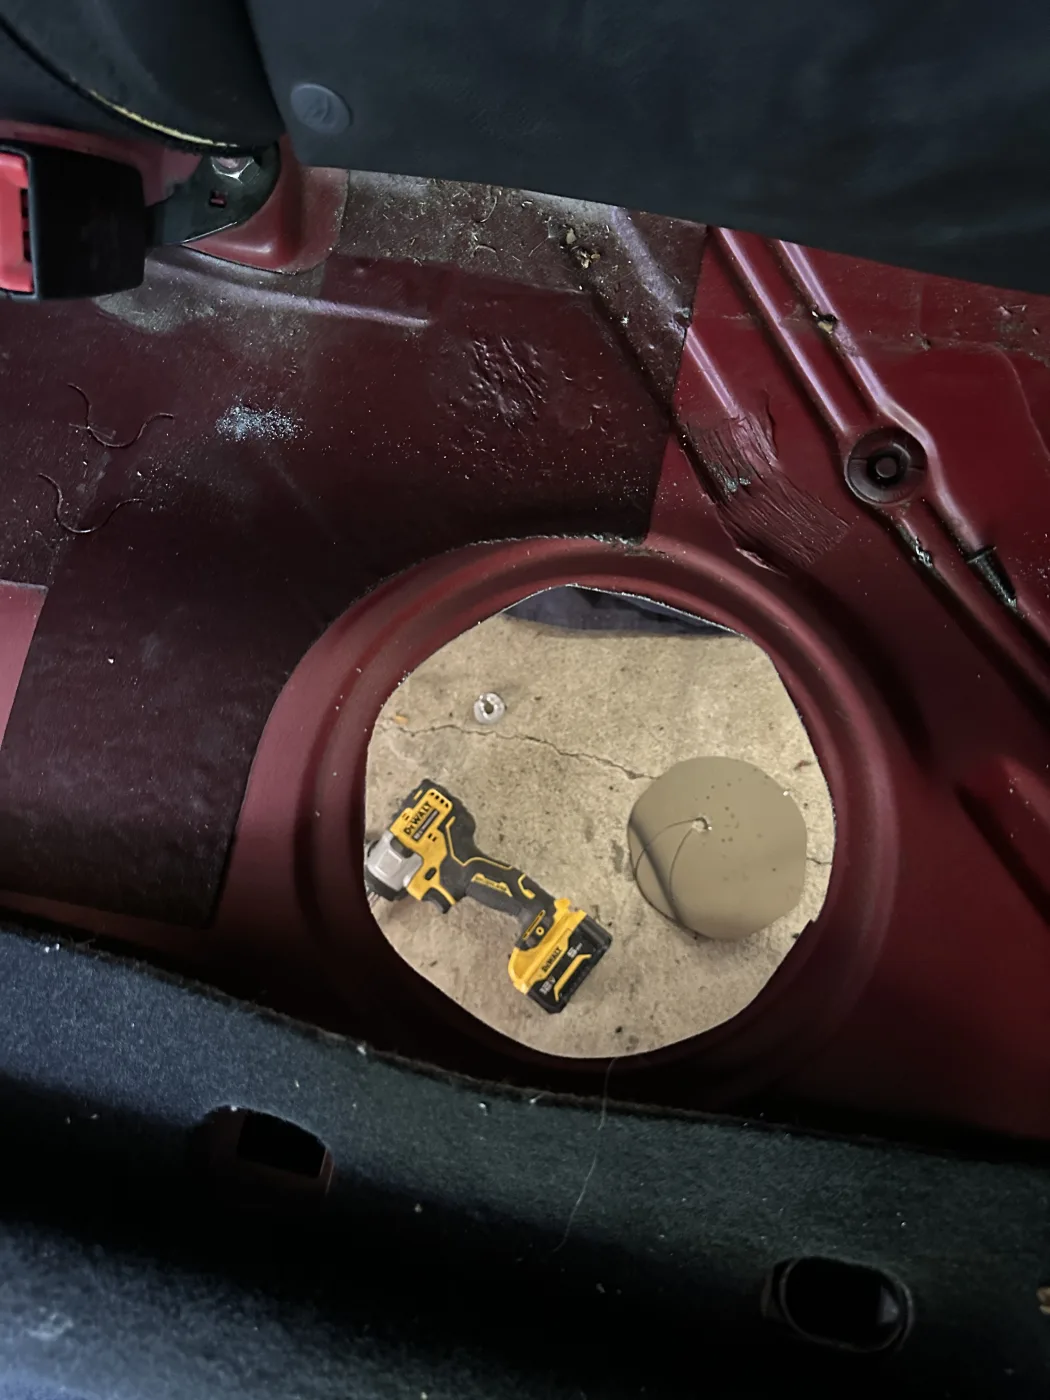
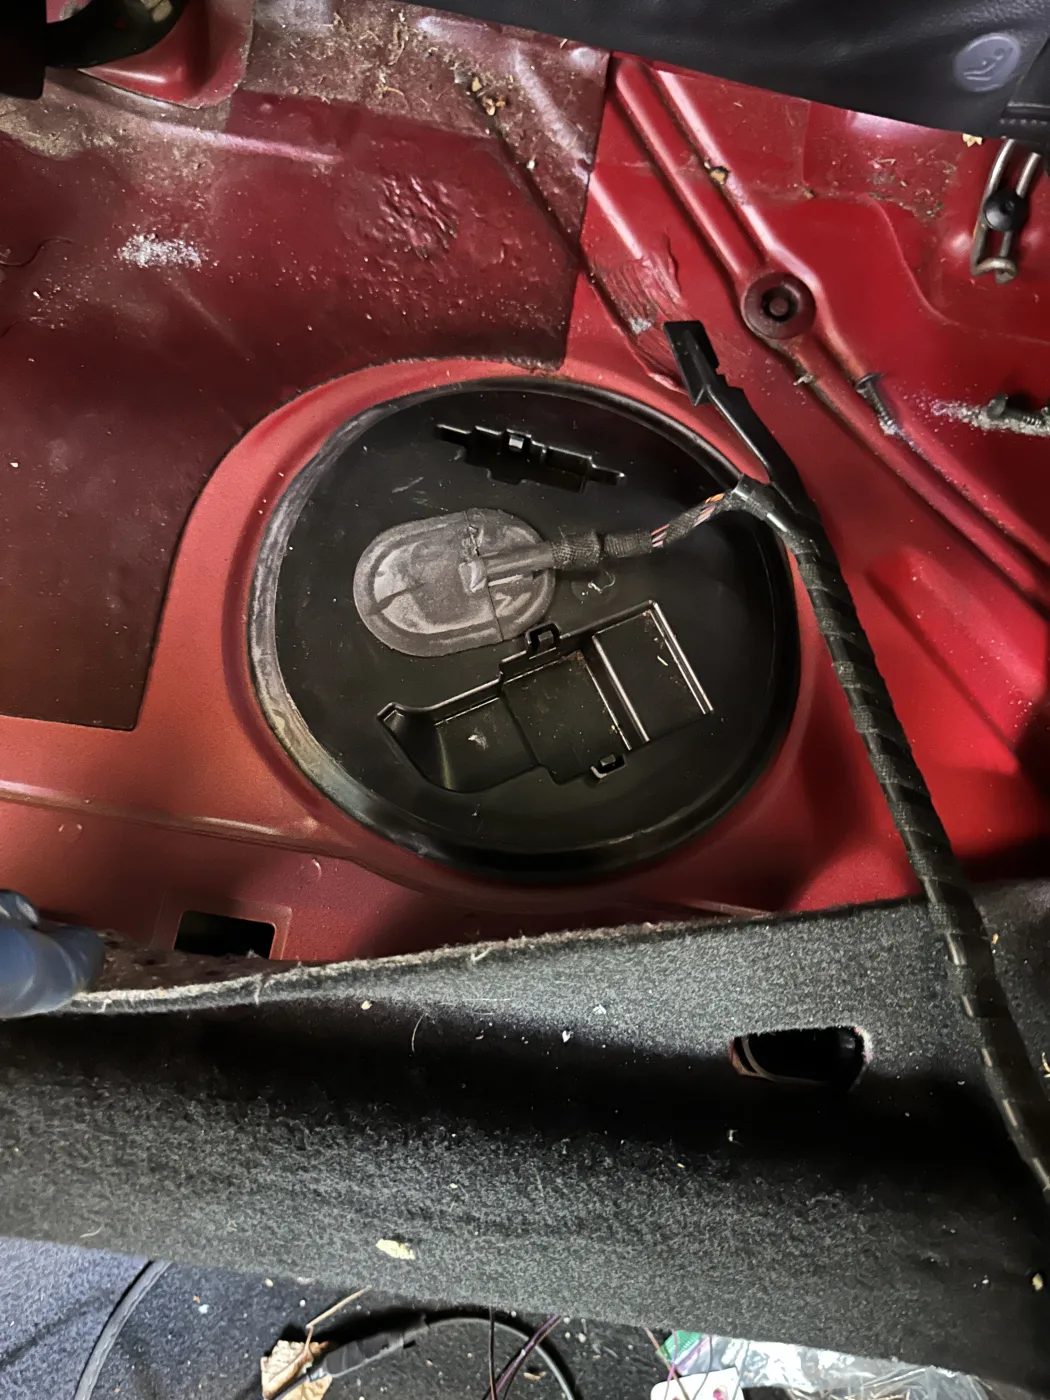
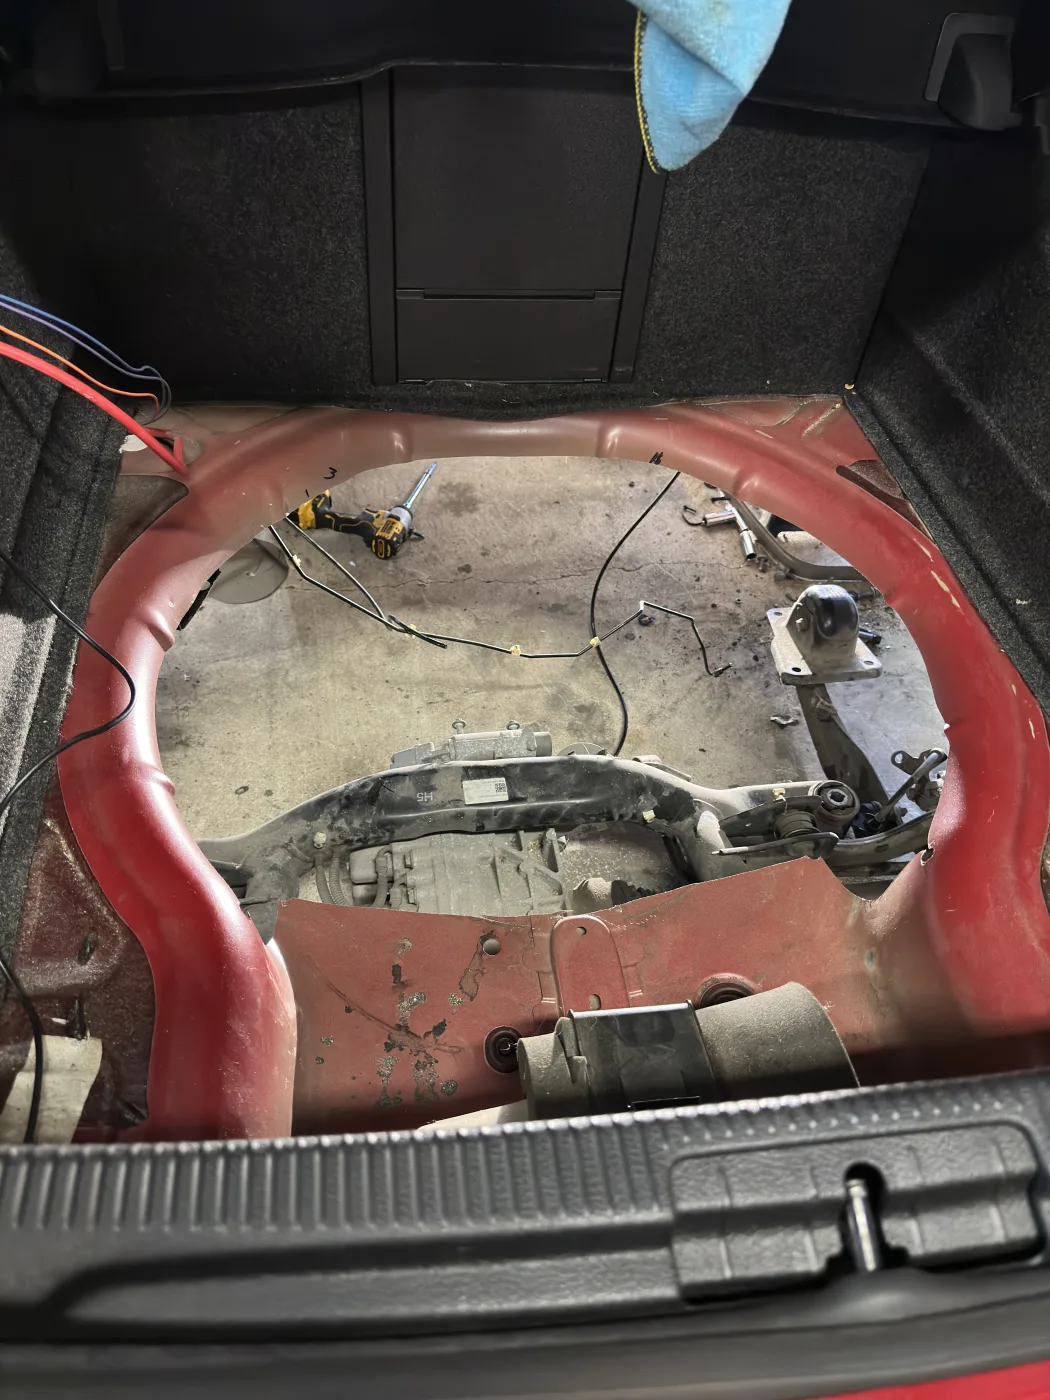
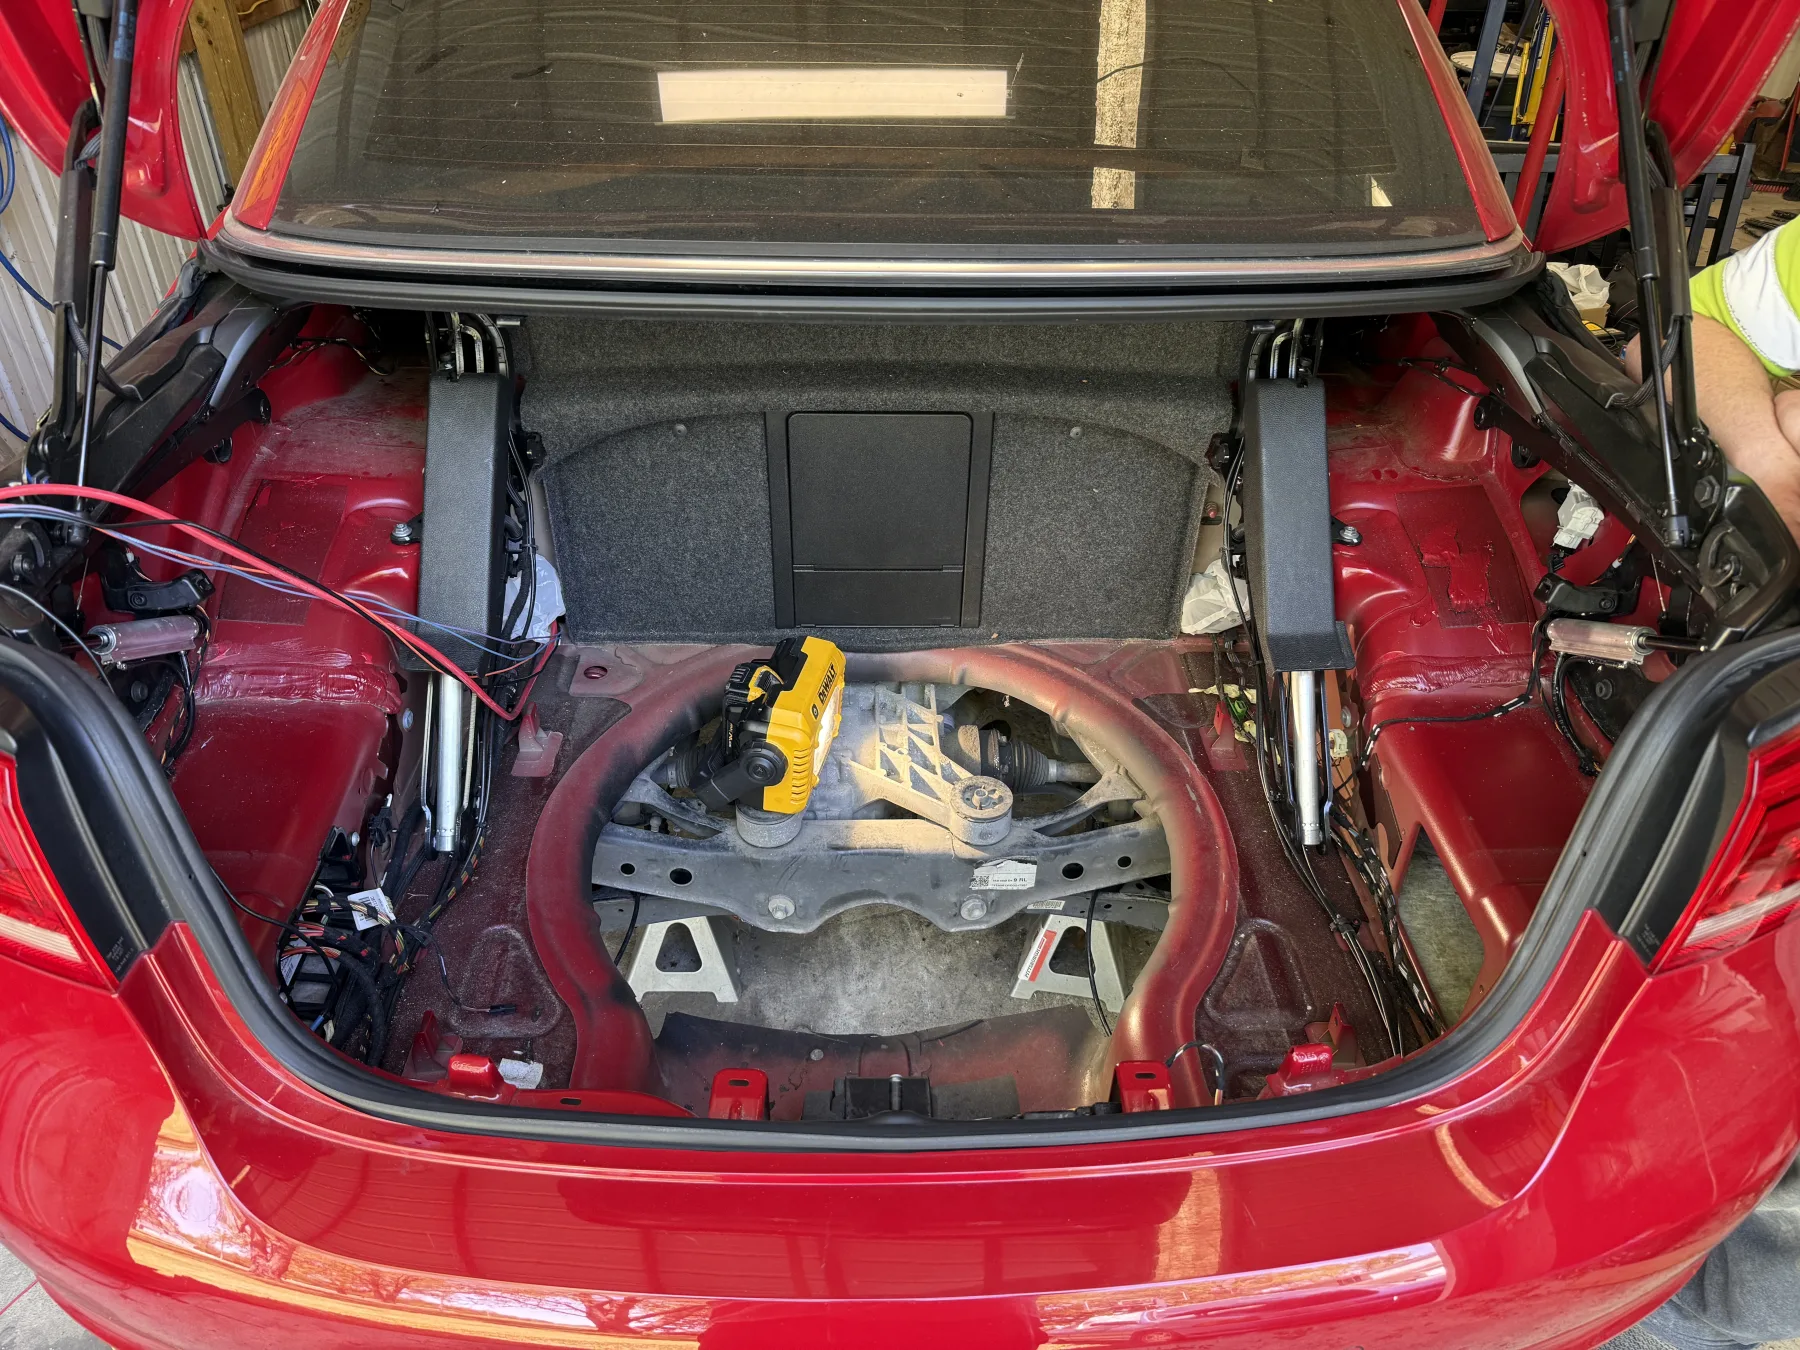
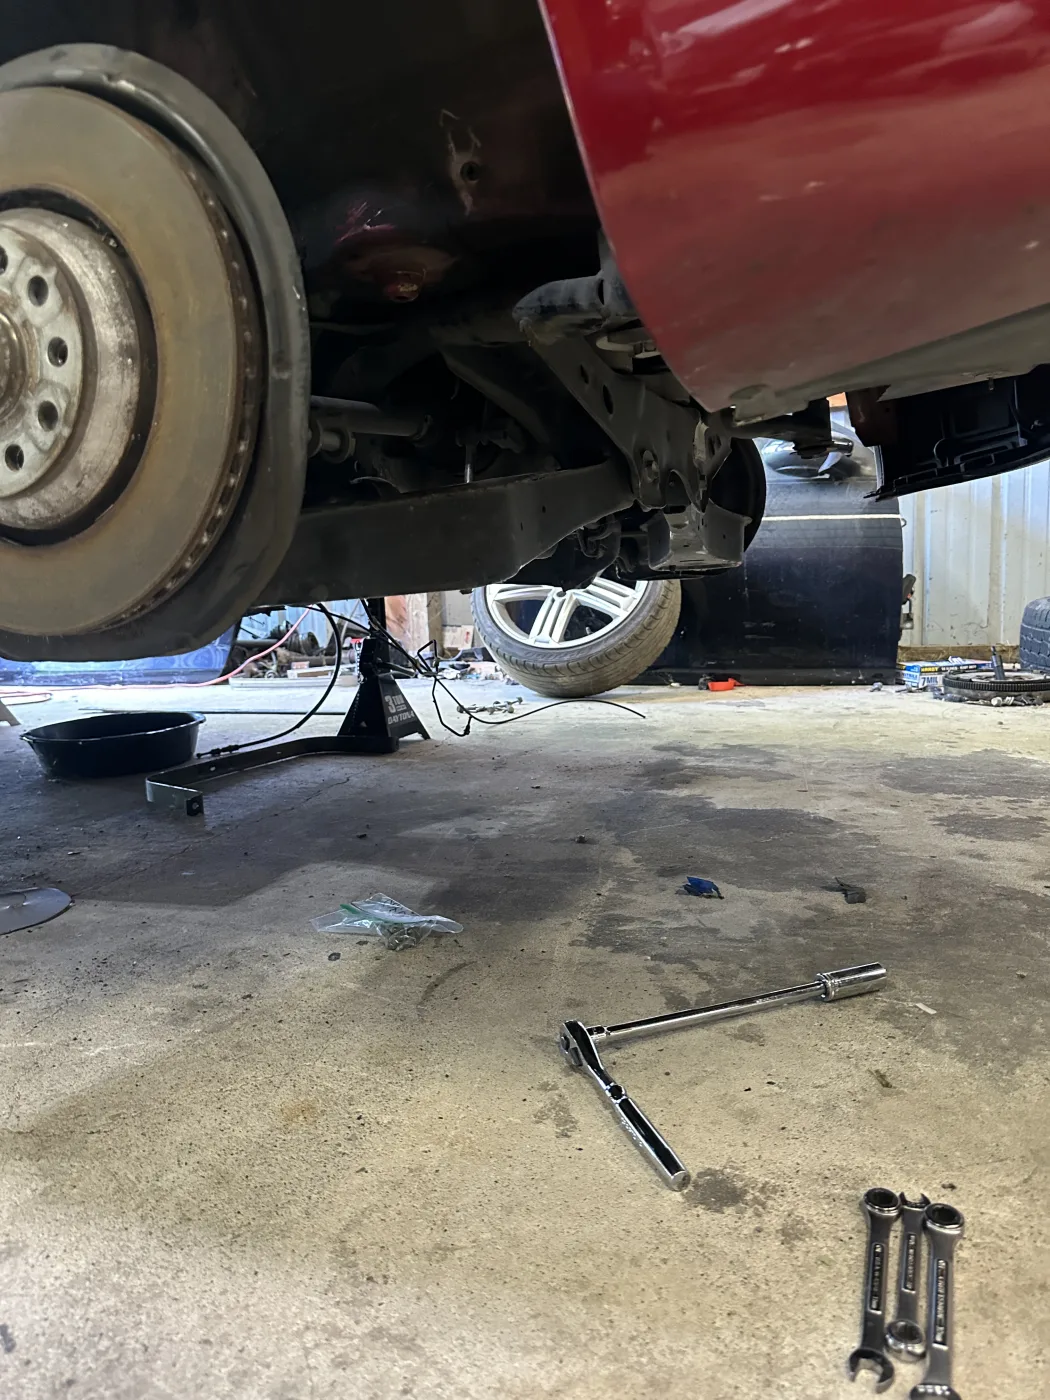
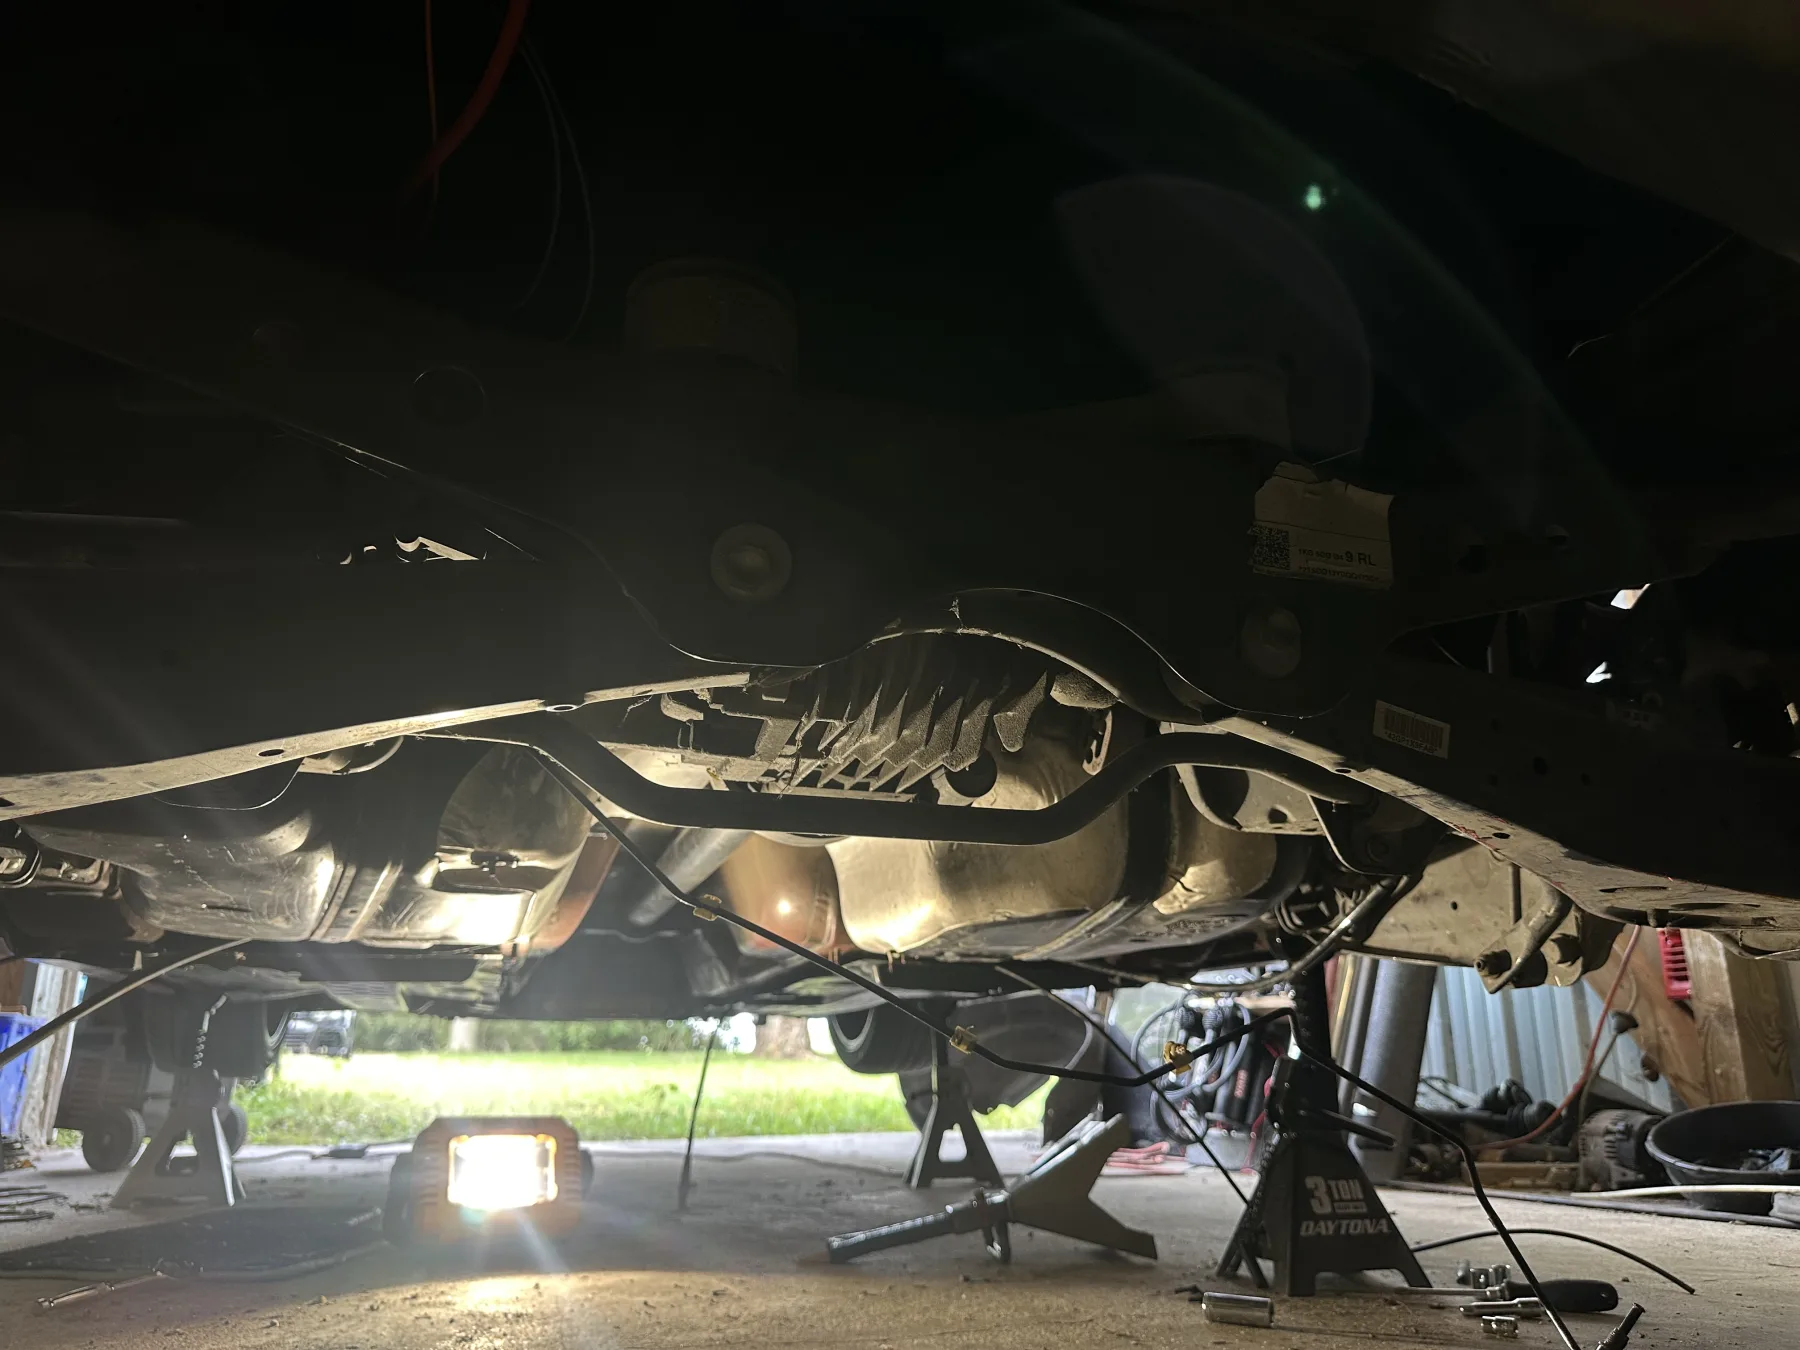
With the car running as a manual, it was finally time for the 4motion swap to actually start. With all the parts already dropped from the golf, we jacked the EOS up and started pulling parts off. We unhooked the rear brakes like we did everything else, unbolted the struts from the knuckles and dropped the rear subframe out in one assembly. One thing we learned the hard way, when we dropped the rear subframe of the i thought the hard brake lines ran all the way to the brake reservoir and cut them. Plot twist, not only is there a junction in them under the plastic belly pans, they are in fact 4motion specific and can not be purchased from the dealer. I ended up making it work with the junctions off the golf so i now have two splits in mine. So be mindful of that situation. With the rear subframe out, the gas tank was next. At this point teardown was close to being done, there was some cutting to do but it wasn't drastic. Under the rear seat i cut out the stamped circle where the second fuel sending unit is located, as well as where the haldex harness comes into the car. Next cut was the spare tire well, it was cut at the top rim of the well. That is where the charcoal canaster is located. Just so you know. There is a small harness that go from the haldex to the body harness, get that in position before you mount the tank all the way. The tank is another point that went sideways, if i was doing all this on a Golf, GTI, TDI, or a wagon, i could have popped the Golf R tank in and been on my way. The EOS has a different angled filler neck, what we ended up doing was cutting the OEM neck off as far down as we could and mounting it to the car, then cut the saddled tanks neck off enough that it would overlap. When putting the tank in the passengers side strap used both the OEM spots, for the passengers side, i used one hole that was in the body, and drilled another that lined up with the strap and use rivenuts that fit the OEM tank hanger bolts (M8 if I remember correctly). With the fuel tank mounted i cut the two necks as close as i could and use a fuel rated hose (something like you would use for a fuel cell) and just sleeved the cut and put some hose clamps on it. (at the time of writing this I am about a year and a half in and it has not leaked)
After we had confirmed that the car would in fact run again, at this point i could drive it if i wanted to/needed to. The DSG mech harness is still in the car as well as the plug for the gear selector. At some point I may remove it, but i didn't want to rip it all out until I knew the manual swap was going to work! The only coding that needed done for the manual swap was the check box in the ECU for manual transmission and not dual clutch. VCDS would not let me do this in the firmware i was running Volkswagen in their infinite wisdom blocked it. I shipped my ECU to Jason at RevMatch and he was able to code it.
This was a big step. this brought us to the point of being ready to actually mount the rear subframe with the differential. Another pro tip from a YouTube mechanic, if you are going to change the upper camber arms do it with the subframe out of the car, we also did the rear tow arms at the same time. WAY easier than doing it in the car! Remember when you are bolting in the rear 4motion subframe, use 4motion subframe bolts, they were decently longer. Once again (with the spare tire well trimmed out) the subframe bolted in like it wanted to be there its entire life. Don't forget to plug the haldex in to that small harness we run when put that fuel tank in! I wont tell you that we had the subframe in and out maybe 3 times, mostly because I don't remember why, but remember doing it. With that mounted we are getting close to being close. To button up the rear, we finished the suspension, had to repair the brake lines I had cut, and hook up the rear parking brake line.
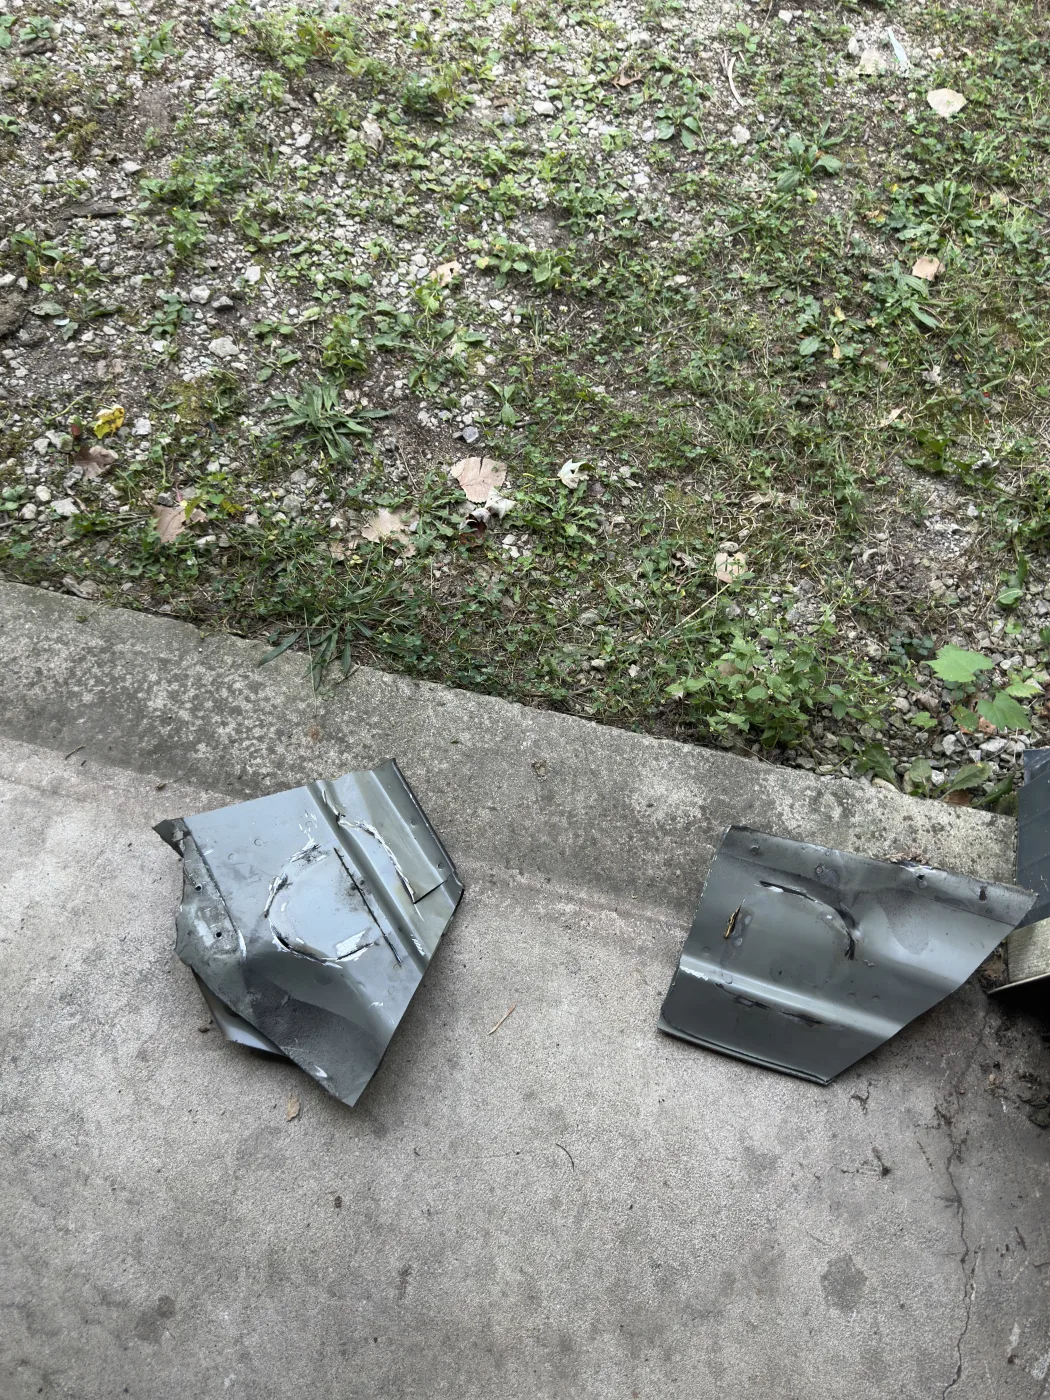
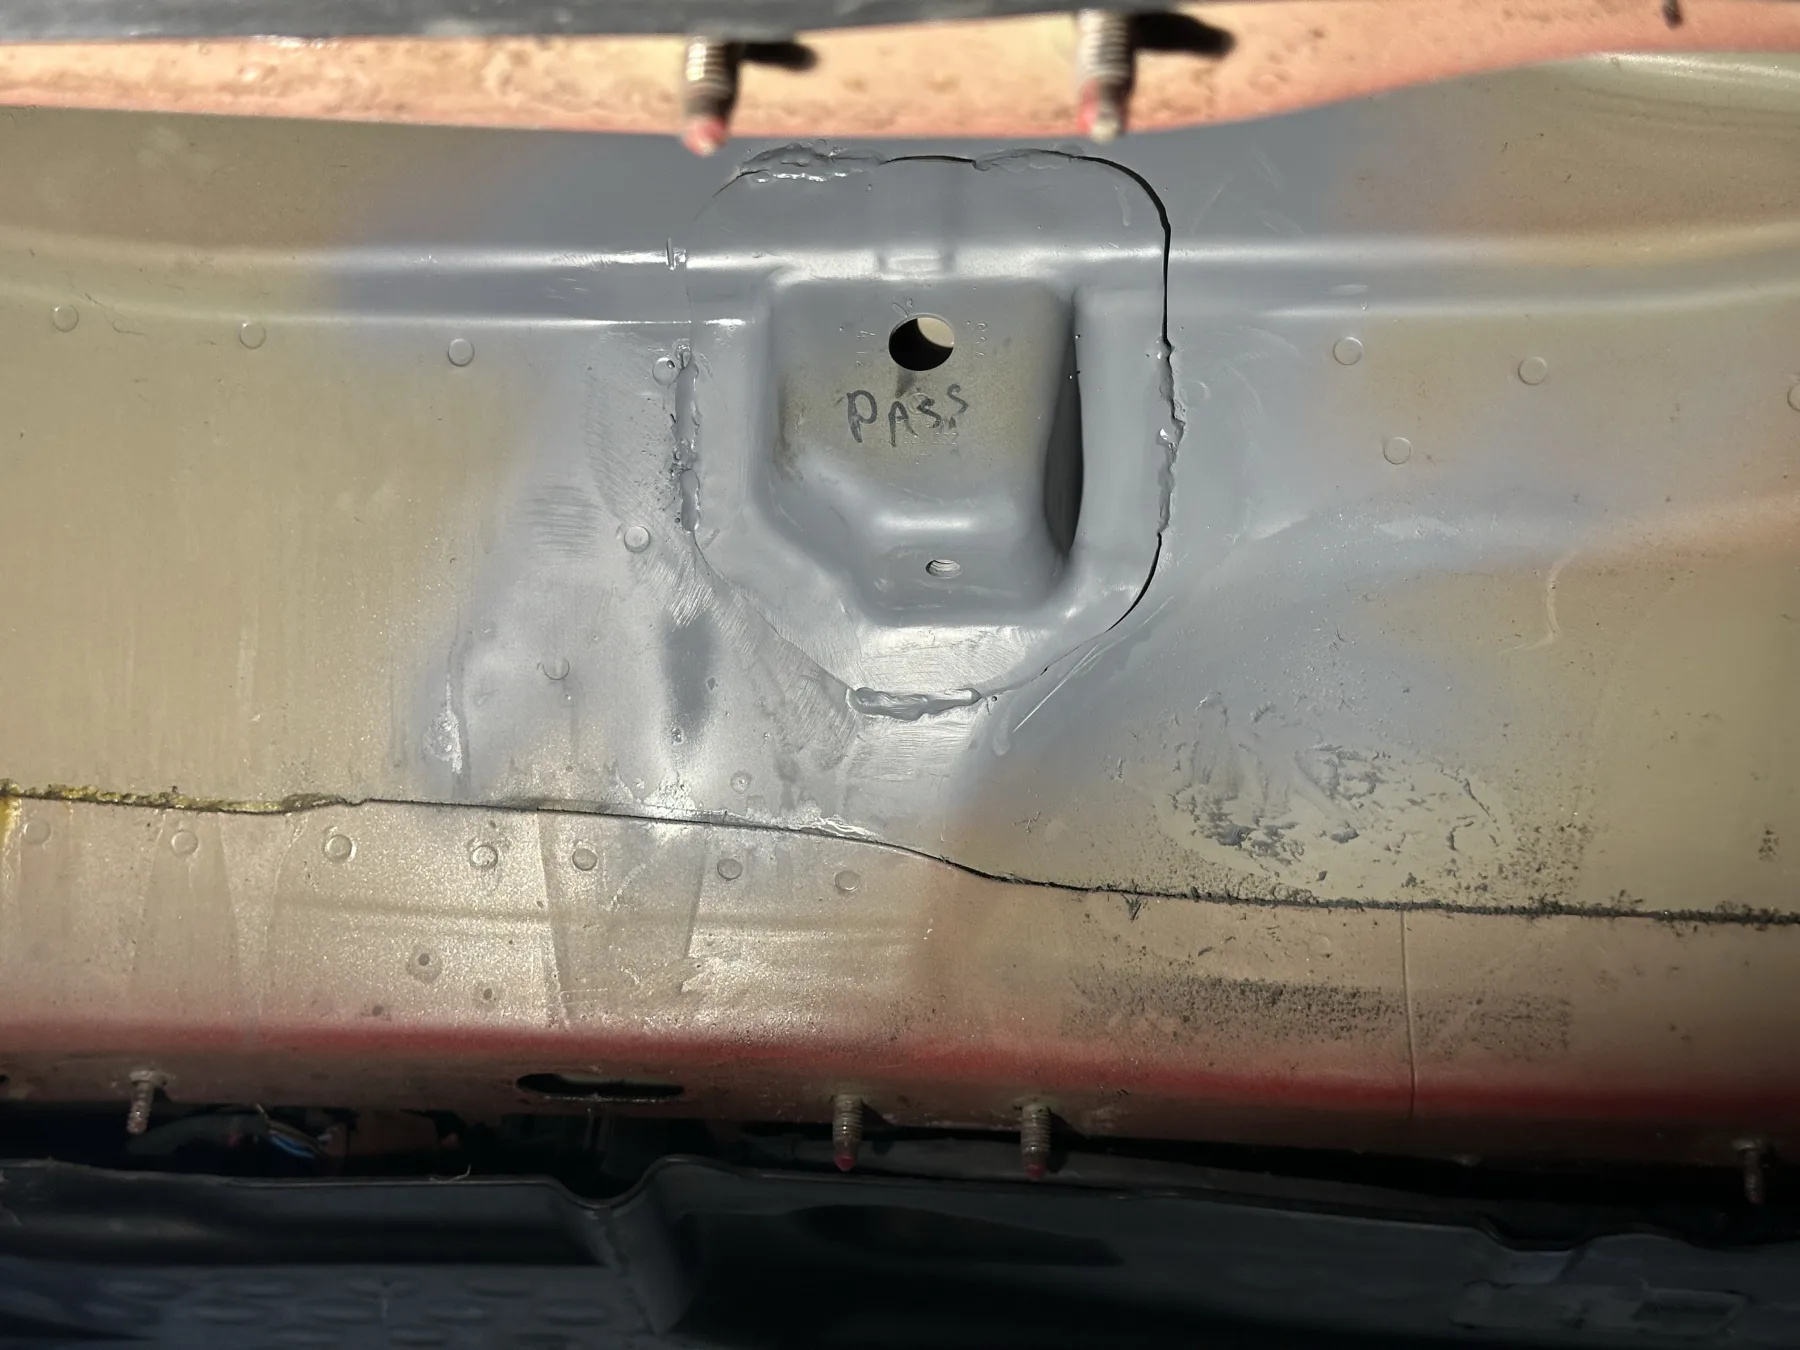
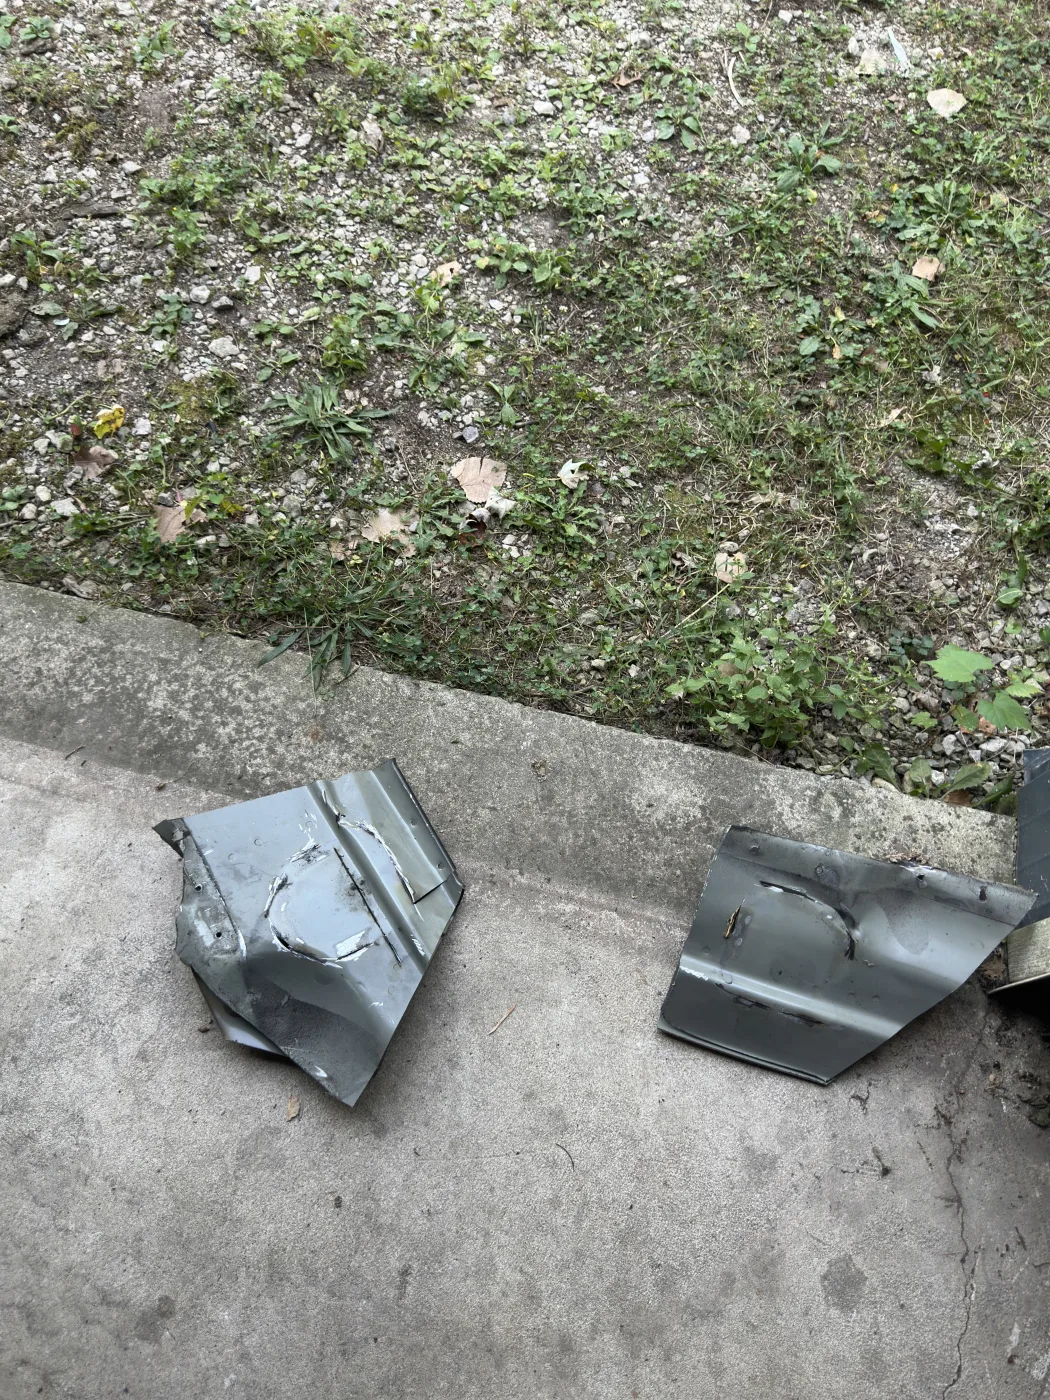
One of the last parts to install is the driveshaft. That is a step that will require some modifications. Simple and with parts that I could have ordered new. The mounts for the drive shaft are brackets that welded to the "trans tunnel" on either side. I didn't buy them I cut them off the parts car to save some money! To mount them, we bolted them to the driveshaft, put the driveshaft in the car, and pushed it up into position. We marked it with a sharpie and dropped the driveshaft back out.
One of the really cool thing with the driveshaft mount was once we had the general spot marked we were able to slide the bracket across the wall and it almost "clipped" into place. It had a home we just had to weld it in. Remember to grind, prime, weld, prime, and paint! Once that was mounted that was the last physical part of the swap. Now all we have left is some wiring, we need to get the harness in for the secondary fuel sending unit, and the all important haldex harness in!
This is for informational purposes only.