
List of parts and stuff I used and learned to do 18z breaks off a Touareg.
The Why
This will cover the list of things that i used and learned when i was doing the 18z upgrade on the front of my 2012 Eos. Lets start with stock. Stock Eos (gti/gli) brakes are 312mm rotors with a single piston floating caliper. I had acquired a set of 17z but they use a 330mm rotor but are a 6 piston fixed caliper. That a pretty decent upgrade. I had some MK6 Golf R brakes installed that are a 345mm rotor with a single piston floating caliper. Since i was trying to fill out my 19" SSR wheels i didn't want to loose any rotor size. So i sourced a set 18z rotors! They use a 350mm rotor and are still a 6 piston fixed caliper!
Parts List.
| bolt set | Stephen McKeone off facebook - $55.00ish |
|---|---|
| brake lines | usp motorsports V-1326FCL - $61.18 |
| right rotor | R1 Concepts EDZ-63130R - $130.47 |
| left rotor | R1 Concepts EDZ-63130L - $130.47 |
| pads | TRW 7L0698151R - $67.89 |
| rotor center rings | Amazon (ill link later) - $16.89 |
The How - Removal
So the tear down is pretty easy. Jack the car up and secure it, pop that wheel off and sit it off to the side! Once you are sitting there with the stock brakes you out in the open you're ready to get started. Seems strange but on of the first things i did was install the new stainless steel brake line to the back of the 18z caliper. I was Trying to get as much ready before i cracked the lines so i wasn't dripping brake fluid everywhere. The new calipers line are not as deep as the mk4 r32 calipers they are designed for, so they do stick out a bit. They are sealed and that's how it was for me. i verified with a friend they said that is how theirs where also. Once the new lines were on the calipers, i set it off to the side. (make sure you put them on the correct side. bleeder screws up, cross over tubes down). Before you do anything else use a flathead screwdriver or a small prybar and pop the sprint clip off holding the brake line to the to of the hub. Crawl in that tiny little wheel well and unbolt the 21mm bolt (i will verify this) that holds the Caliper Carrier to the hub. If you want to remove the caliper from the carrier and then the carrier from the hub first that up to you. They both need to come off, up to you! Once the caliper is off, tie it up or sit it on the floor. Since I'm a broke and work from a jack on the floor the line was long enough to sit on the floor under the car. Now hope and pray that the last person in there didn't strip out the t30 that holds the rotor to the hub. Take that out and the rotor should come off. IF its stuck just wack it with a rubber mallet. that should leave you with a naked hub and should almost complete the disassembly process. last thing to take off is the dust shield. I had originally trimmed it and it look like it was gonna be ok. But my first trip that was 3 hours one way with a dragging dust shield tell me that I should have just removed it. So I just recommend removing it. that should leave you with a bare hub!
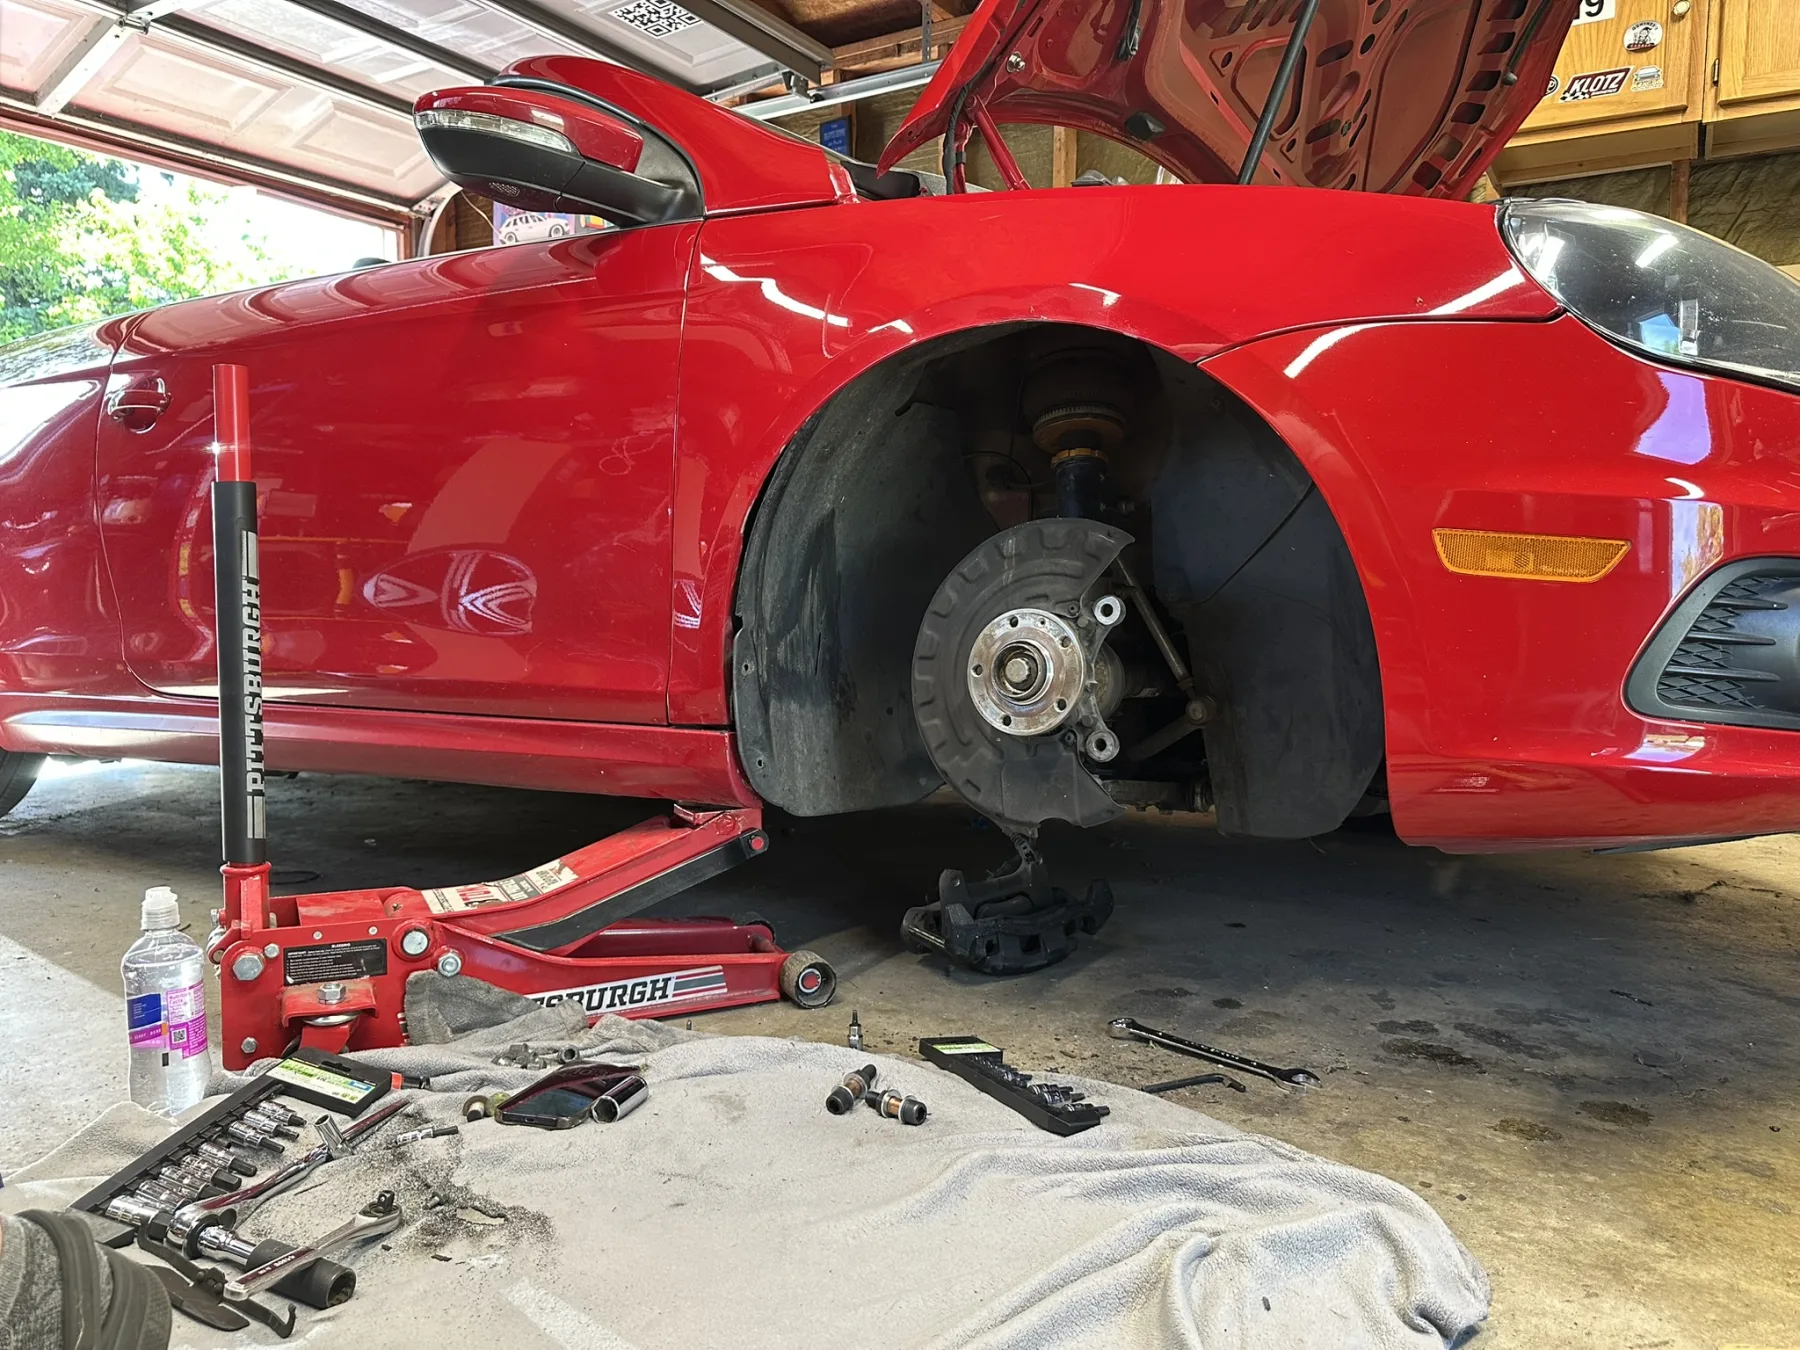
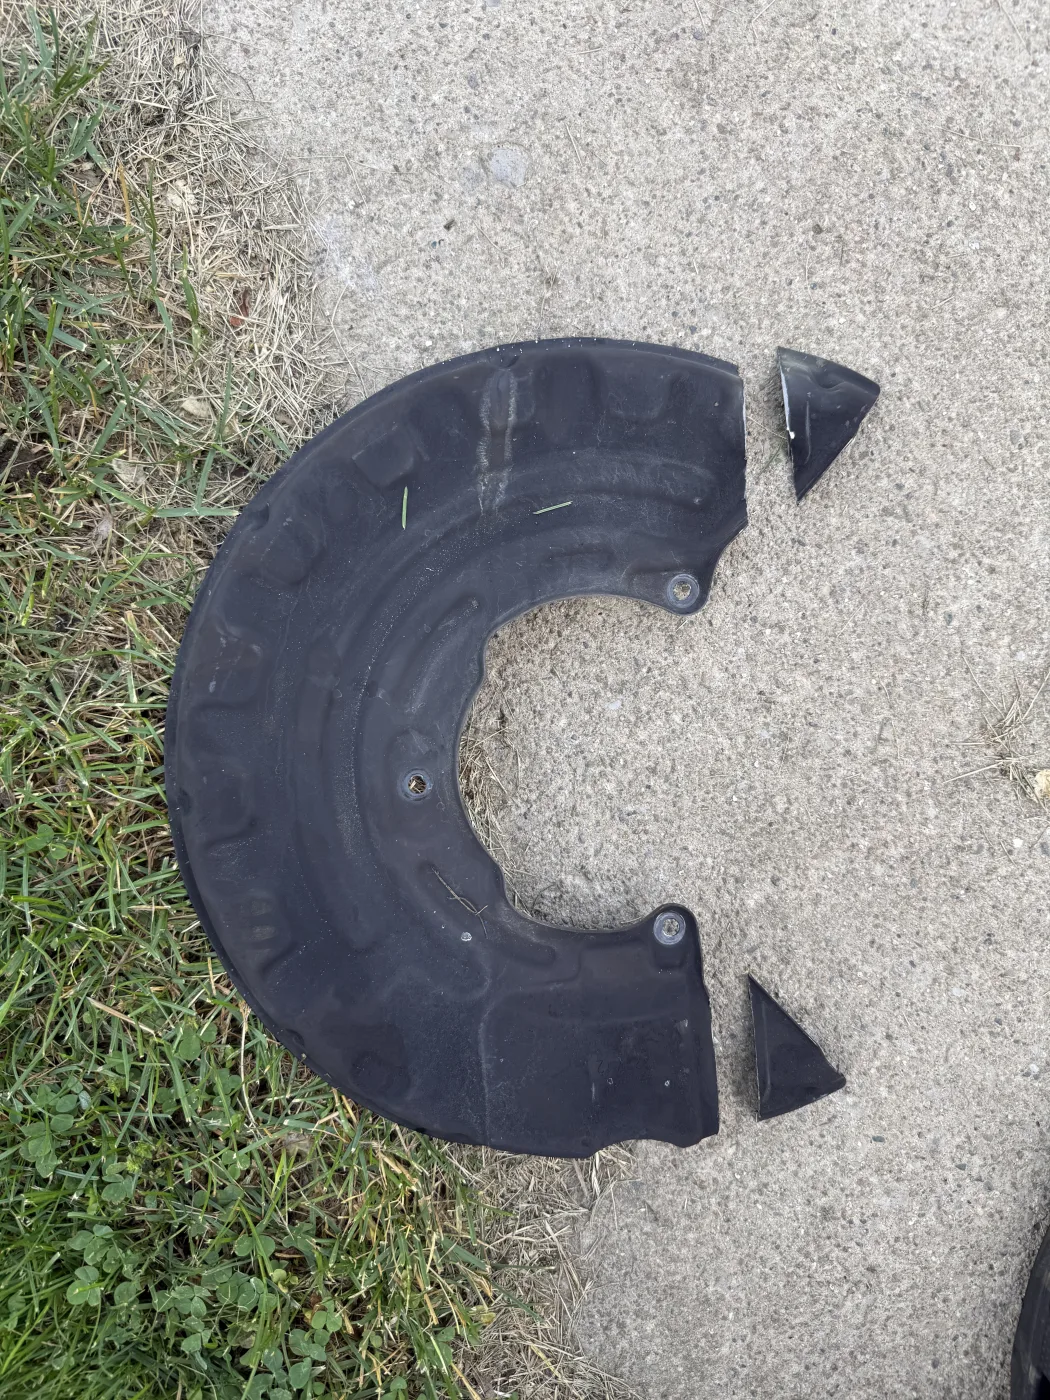
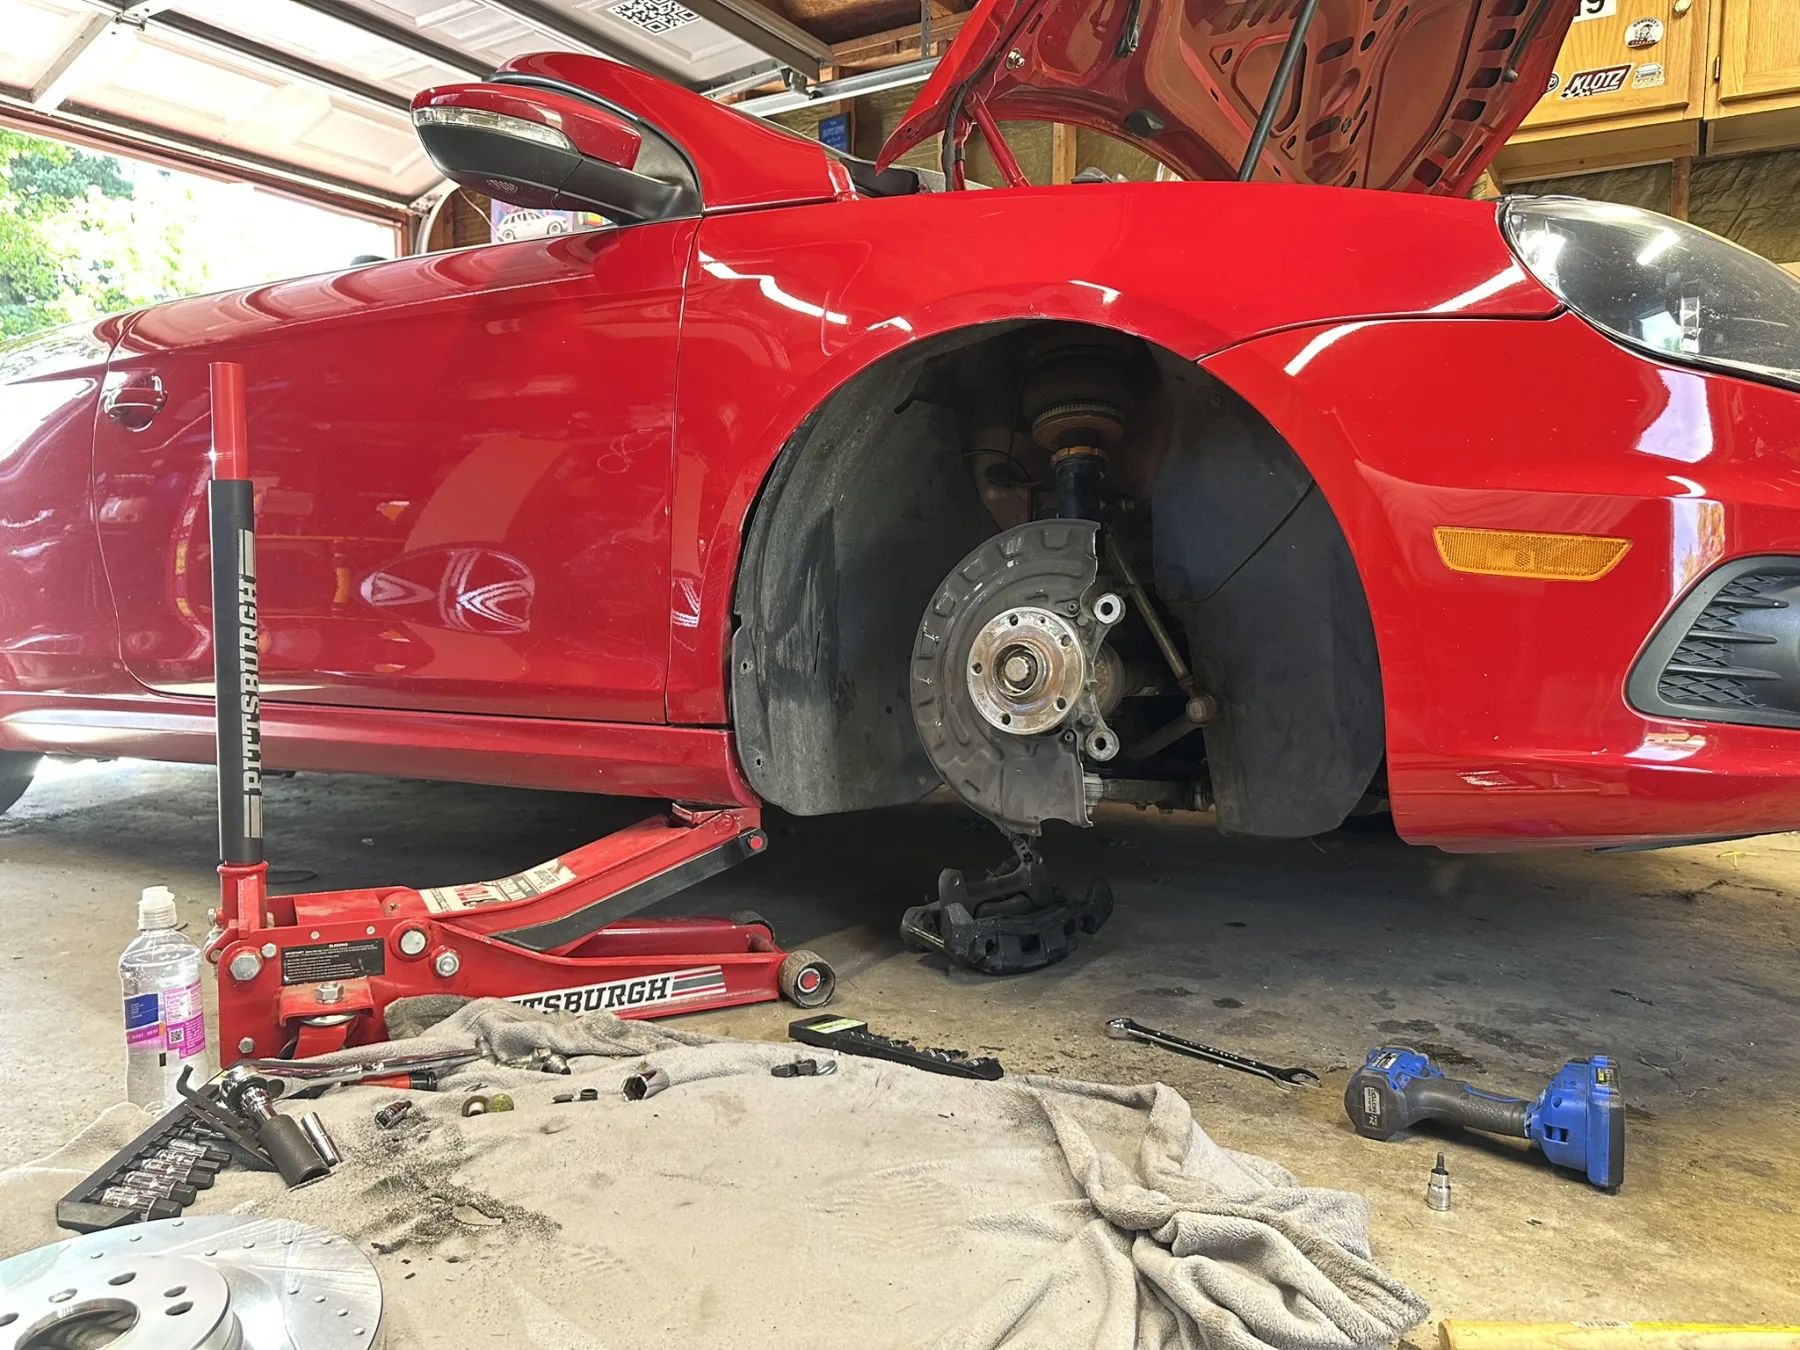
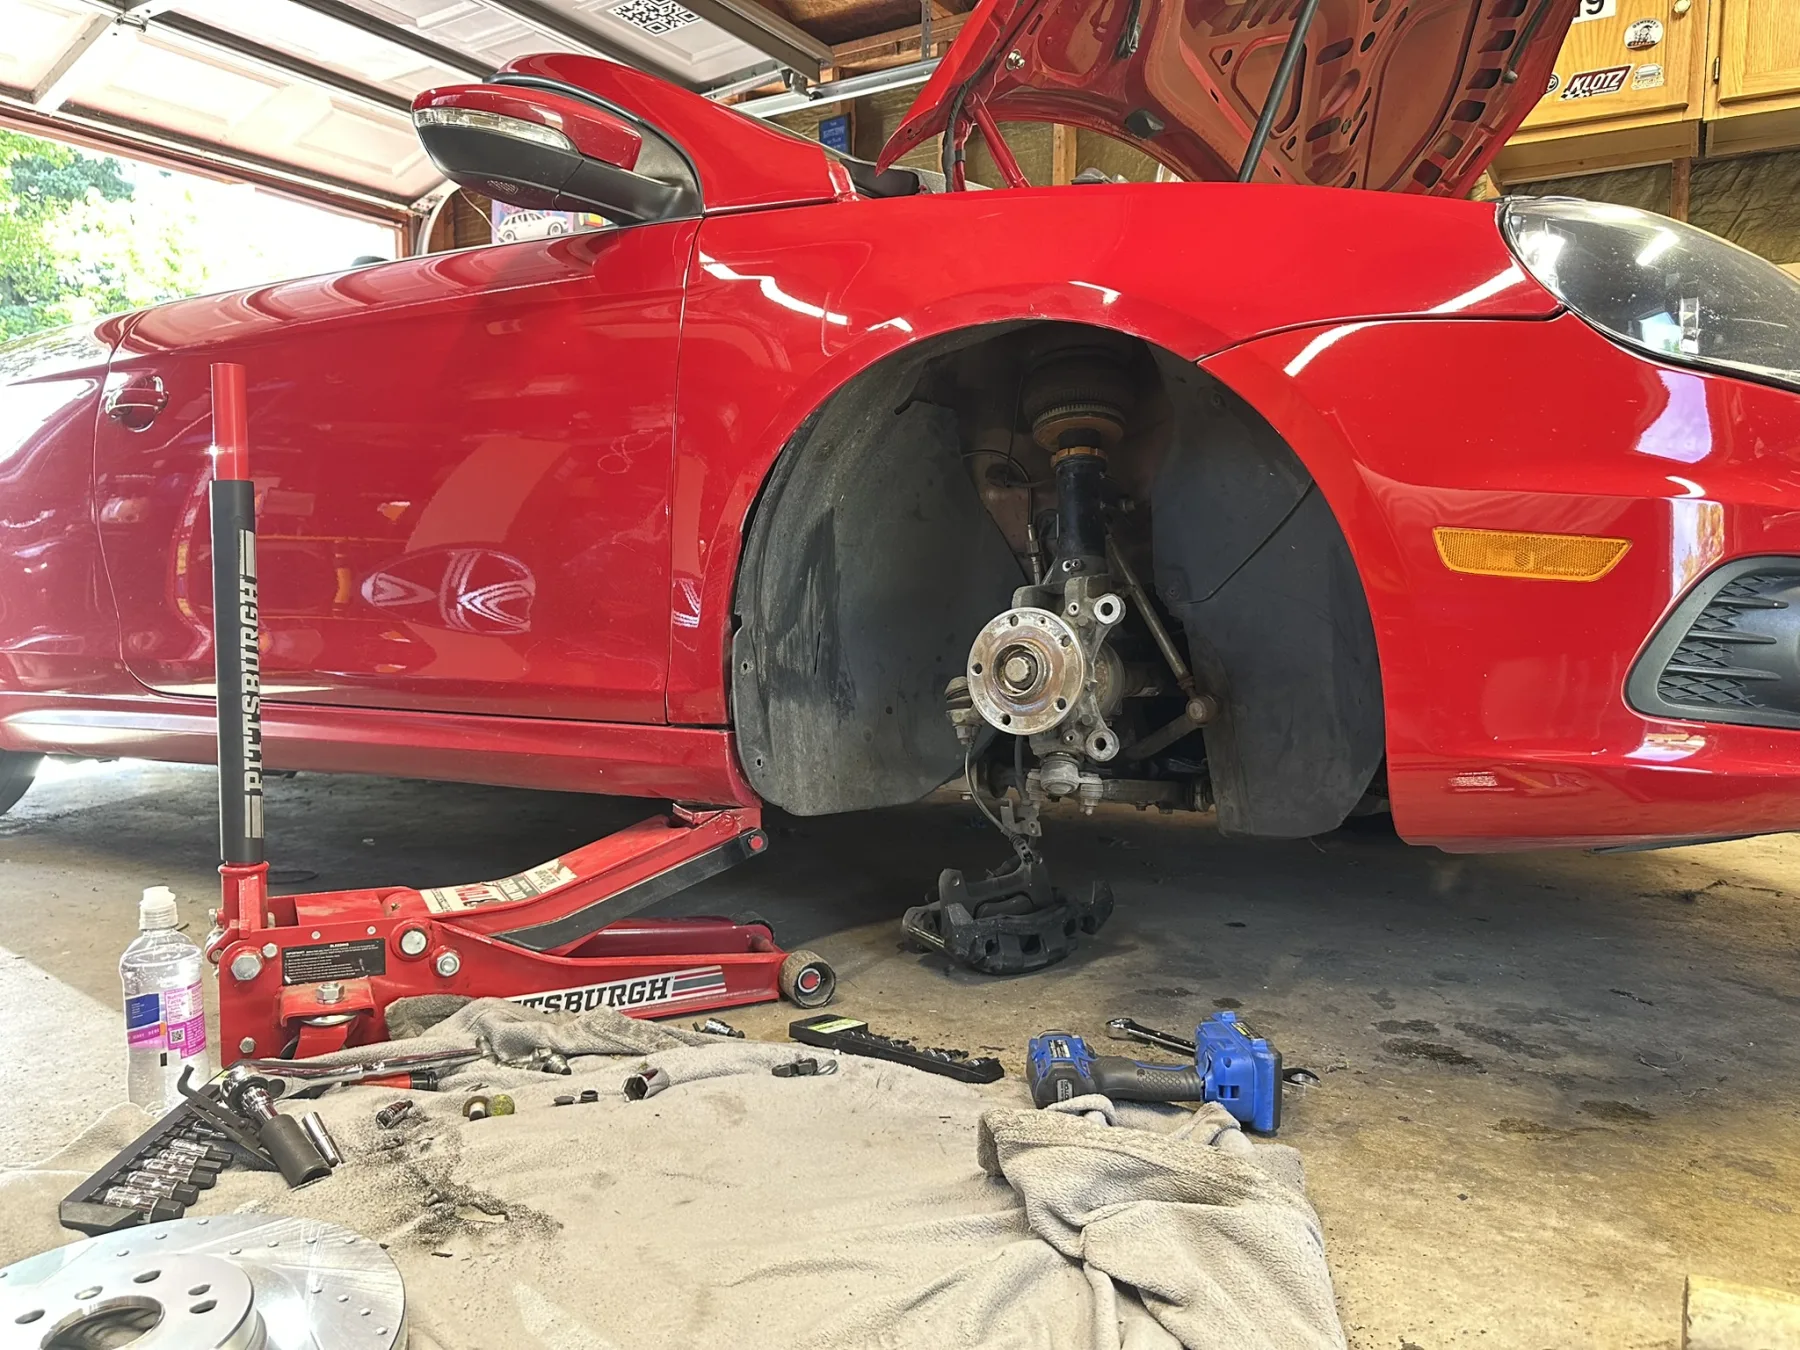

(you can see in the picture i had the caliper mounted upside down. don't be like me!)
The How - Installation
Now are are to the good part. Let start throwing parts at this thing! First step is install the centering ring in the rotor. I ordered the set off amazon for $17 for a set of 4 (they are the same if you do the 4pot rears) they are 67.1 to 65.1 mm to fit center the rotor on the hub. The rotors are for a 2010-2012 Mercedes-Benz GL450 (make sure you get the 350mm rotors, i believe the 17z you can use the GL350 330mm rotors, i think everything else is the same). Once you have put the center ring in the rotor, i used that pesky old rubber mallet again. Put the rotor on the hub and I lined up the lugs and put two of the lug bolts in to hold it on, you wont be able to use the t30 to hold the caliper on anymore. Grab the bolt set, it should have the bolts, sleeves, washers, nuts, and maybe lock washers. The sleeves will go into the caliper, caliper behind the hub, slide a washer on the the bolt, then the bolt though the caliper (with the sleeve), then though the hub, another washer then the nut. I didn't use a lock washer i used Loctite. It can we tricky to get the washer and the nut on but after a little struggle, there it is. Tighten it to I'm sure a torque spec, i just did tight. its been fine! At this point you should have the rotor and the caliper mounted. At this point I unhooked the sock soft line from the factory hardline of the car and quickly started treading the new stainless line to keep as much fluid off the floor as i could. Make sure the line is routed the same way, and you may need to reclock the line on the back of the caliper. Put the spring clip back in to secure the middle of the line back to the hub.

The Bonus
Ok so not only does this look a lot cooler than the OEM caliper/rotor, and include the added benefit of more stopping power, but you also get the advantage of the fixed caliper. So to do pads you only have to take out the 13mm bolt in the back of the pin and side it out. The spring clip sits on top of that and holds the pads in snug, once the pin and spring is removed the pads just slide on out (or slide right in for our instance here). So grab your pads, i used TRW pads for a 2004-2006 Volkswagen Touareg. Slide them in one on each side of the rotor, place the spring on and push it towards the rotor to allow the pin to slide though the hole and over the clip. Once is seated put the bolt back in to secure it! You can see from the picture that I painted them red (gti color not because my car is red). I would recommend having them powder coated but my seals were good and I didn't want to spend the money on a rebuild kit. Also powder coating may not tickle your fancy either. pick a coating that works for you. I'm overall happy with the Autozone Caliper Paint.
The How - Finishing
Ok so we are almost ready to cross the finish line! I used a power bleeder since I'm riding solo, and didn't have anyone around to help. I put fluid in the power bleeder bowl, put the adapter on, you take the cap of the ranivore and screw on the adapter cap. I pumped it up to test the pressure before I did anything else, i pressurized it up to 20psi and let it sit for about 10 mins. After that was good I started the actual bleed. I started on the drivers side inside bleeder screw, then the outside bleeder of the driver side. I did read somewhere that sometimes its weird about the cross over tube and recommended with the outside bleeder open tap the caliper a few times with a rubber mallet. To be honest i did get a few more air bubbles out. I Then moved to the passenger side and repeated the process. I checked the bleeder and made sure i was still good. then cracked all four in the same order again. No bubble and I was good to go! i put the wheels back on and snugged them up. I lowered the car back onto the ground and torqued them to spec. Lug bolt is something i absolutely torque and check after 100 miles, and then again after 500 miles. Then Guess what boom! I was done! We successfully have 18z on the front of the car!
This is for informational purposes only.